Make your own 3-step sour cream. From this one process you can create both crème fraiche and sour cream! Plus, learn how to easily separate fresh cream from non-homogenized milk by the cream line with three simple methods that don’t require a cream separator. This homemade sour cream is simple to make and so much healthier than store bought with not fillers or hidden sugars. Bonus, it’s even low-carb/Keto friendly!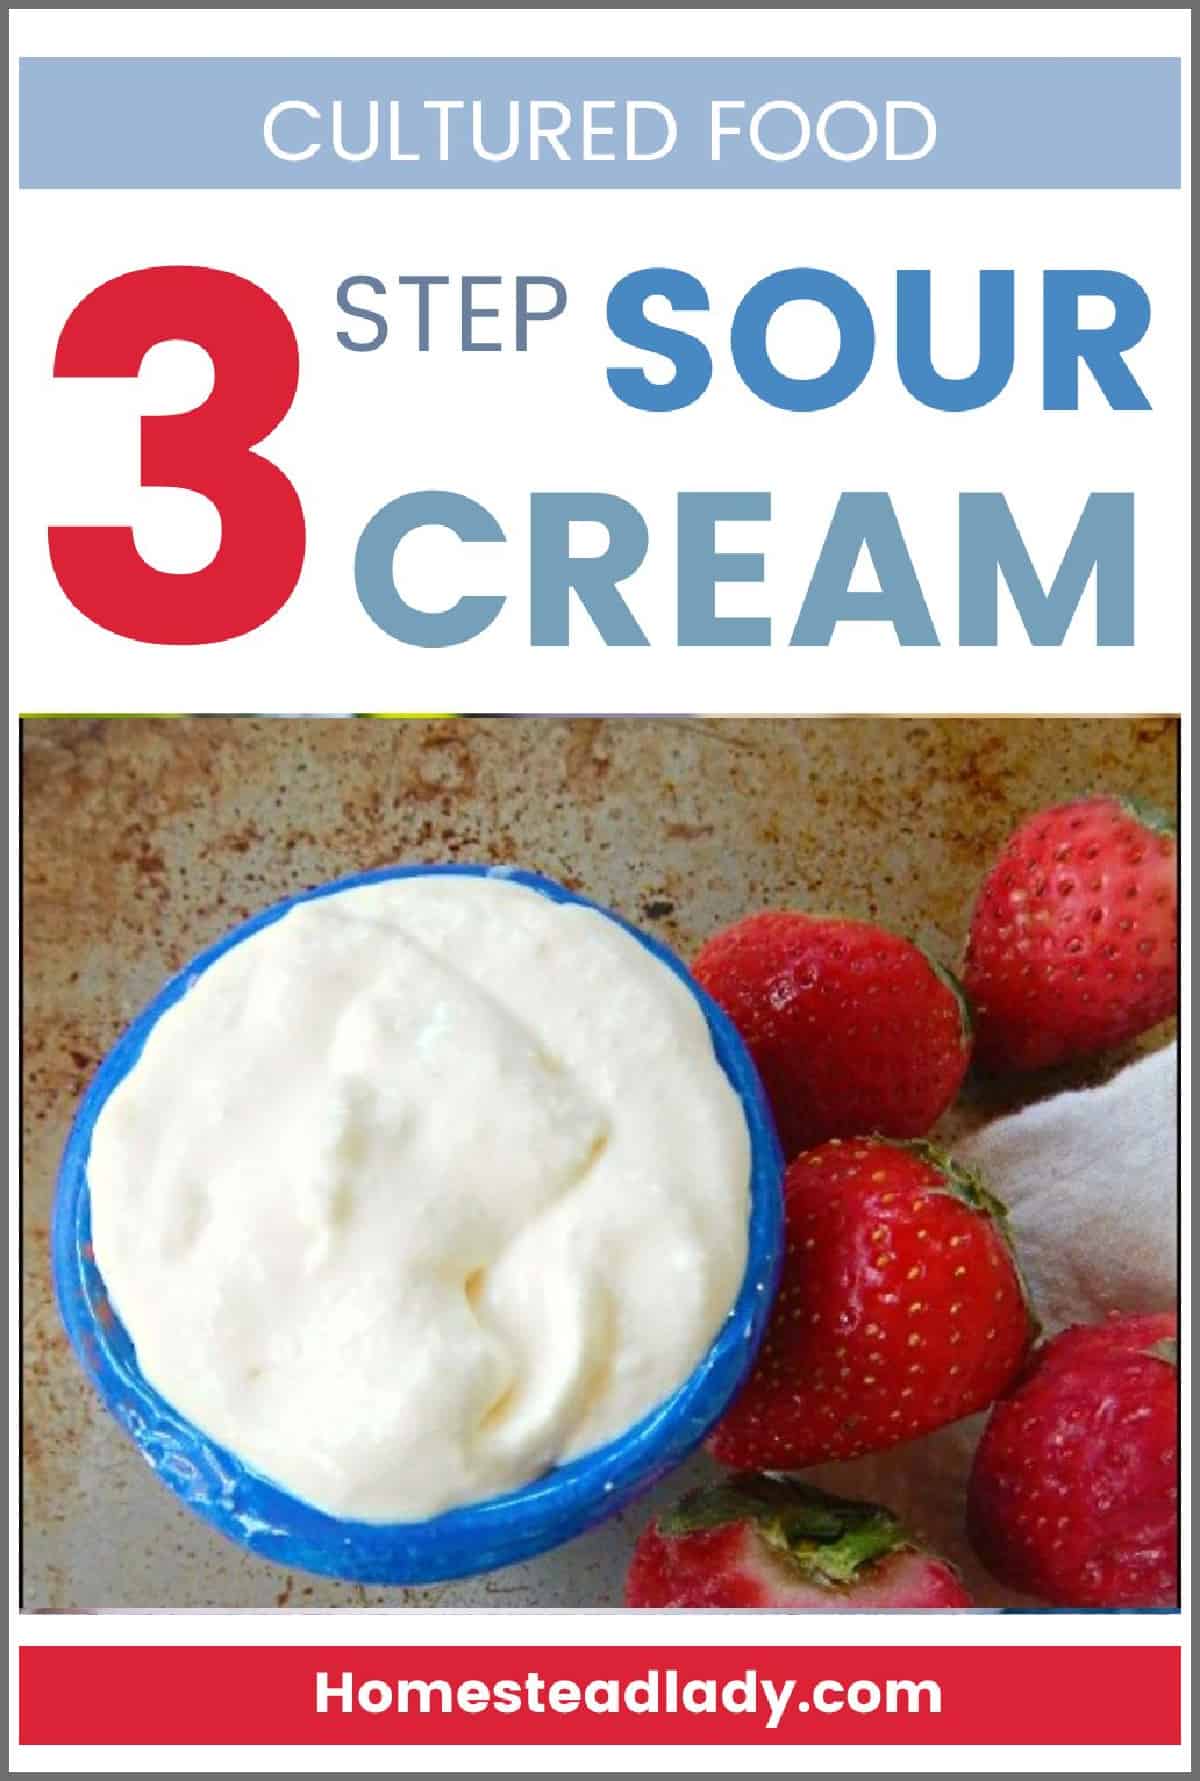
3 Step Sour Cream
This homemade sour cream is probably the easiest dairy ferment to start with if you’re new to making your own dairy products. We’ll link a few more simple dairy products you can make after you’ve tried this sour cream.
For now, you’re going to need cream in order to make sour cream.
Raw vs. Ultra-Pasteurized Cream
Whenever I write about dairy you can assume I mean raw dairy. Especially for cultured dairy products like sour cream, raw dairy is easier and healthier to use.
I can’t, in good conscience, recommend that you try this sour cream process with UP (Ultra-Pasteurized)/UHT (Ultra High Temperature pasteurized) cream. To understand a little bit more about my objection to UP dairy, you can read this simple but informative article from Food Renegade – click here.
Apart from the health issues, UP dairy is basically dead. It will, therefore, perform erratically in the home-culturing process, if it performs at all. Feel free to try the following sour cream recipe with store bought UP cream if that’s all you can find, but be prepared for possibly different results than what’s outlined in this article.
It will probably take more time to get the cream to culture with this method, if it is able to culture at all.
Finding quality dairy can be a struggle, depending on where you live. To locate fresh milk in your state, please use the raw milk finder tool from RealMilk.com – click here.
At last count there were only seven states left in the U.S. where it’s still illegal to purchase raw milk. If one of those is your state, get involved through Real Milk and take that number down to six!
Homogenized Milk & Cream Lines
If you’re using pasteurized cream, you can simply buy it at the store. Please remember that I don’t recommend the purchase of cream because the law requires that it be ultra-pasteurized.
Here’s a little more information on why that might not be the healthiest option for your milk – click here. Sorry to beat a dead horse, but it’s one of my soapbox issues!
Fresh, raw milk is typically not homogenized, or mixed, before it’s sold. This means that when you leave your fresh milk in the refrigerator for 12-24 hours you will see a cream line develop.
What’s a cream line? A cream line is the clear, visual separation of the cream from the rest of the milk. The cream naturally rises to the surface and is typically a bit darker in color in cow milk; this means that the cream will be slightly yellow, and the milk will be white.
For those new to non-homogenized milk, separating the cream from your milk will be one more skill to learn. Fortunately, manual cream separation isn’t difficult with cow milk. There are several different options for cream separation from cow milk.
3 DIY Ways to Get Cream Out of the Jar
You can purchase a manual or electric cream separator and use that to remove cream from your milk. However, these units cost money and if you’re not using one every day because you’re milking a cow, you probably don’t need one.
In light of that, here are three different DIY methods of separating cream from milk. Everyone claims their way is the best, but just try these until you find the one you like.
Remember, this only works for non-homogenized milk. If you’re using store-bought, pasteurized milk which is always homogenized, you will not be able to separate the cream. Purchase cream separately.
Pour Off the Cream
This is the fastest way to get cream out of the jar. (I’d like to tell you I’m super sophisticated when it comes to my cream separation, but I’m always short on time.)
- Allow the cream to separate the from the milk by setting it in the fridge overnight. The cream line should be very visible.
- Remove a milk jar from the fridge and run a clean finger around the edge of the cream against the jar to break the creamy seal.
- Slowly pour off the cream into a container until you see the milk appear at the top of the milk where you’re pouring it out.
Yes, I usually get some milk in my cream. No, it’s no big deal.
Once the cream is cultured into sour cream, any residual milk will be at the bottom of the sour cream jar. This leftover milk resembles yogurt and is quite tasty. The yogurt-y milk will be MUCH more runny that the sour cream.
- If you want pour-able sour cream, mix the milk into the cream.
- If you want sour cream that is more firm, strain the contents of your jar through a length of cheesecloth and the liquid will come out.
Ladle Off the Cream
- Remove the jar of milk from the fridge.
- Run a clean finger around the inside to break the cream seal against the jar.
- Use a small ladle to gently spoon out the cream until you hit the milk line in the jar. The milk will be very visible – it has an almost green tinge to it as compared to the cream.
You won’t get every last drop of cream with a ladle, but you probably want to leave a little in your milk anyway to keep its rich flavor.
Use a Jar with a Spigot
- Pour the fresh milk into a jar with a spigot, like a lemonade jar.
- Allow the cream to rise.
- Drain off the milk until you empty the jar down to the cream line.
This method requires I make room for a special jar, which I’d rather not do. Also, in my warm, humid climate, I struggle to keep spigots clean and mildew-free so this isn’t an option I use.
However, it’s a super smart way to separate cream easily.
Homemade Dairy Resources for Making Later
1 Gallon of Milk = 5 Dairy Products
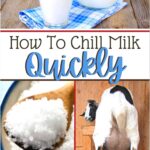
Technique to Cool Fresh Milk Quickly
Making 3 Step Sour Cream
You don’t even need to write this down – just go right into your kitchen and do it. Or you can print the recipe, if you like.

3-Step Creme Fraiche or Sour Cream
Ingredients
- 1 Quart Cream pasteurized or raw
- 2 Tbsp. Sour Cream or Milk Kefir
Instructions
- Place the tablespoons of sour cream (or milk kefir) into the bottom of a quart jar.
- Pour warmed cream* over the sour cream and fill the jar.
- Stir thoroughly.
- Add a loose fitting lid and let the cream sit on your counter for 12-48 hours.**
- Check the cream after 12 hours to see how it tastes. If you like it, the cream is done culturing. See below for several notes.
Notes
Crème fraiche (pronounced krem fresh–French for “fresh cream”) is lightly fermented, thickened cream. By adding culture to full-fat cream, then allowing that cream to ferment, the cream slowly becomes acidic. Once it passes a certain acidity, the cream suddenly thickens into crème fraiche. If left to ferment longer, the thickened cream continues to sour and eventually becomes what North Americans know as sour cream.”
Easy peasy!
A Few More Sour Cream Tips
Here are a few more pointers:
- Always use clean containers, lids, and utensils.
- Raw cream has its own bacterial set and will usually culture quicker than pasteurized cream. In fact, to make “cultured cream,” all you need to do is leave plain raw cream (no starter) on your counter until it clabbers, or thickens.
- Pasteurized dairy should always be handled with care because it will spoil, instead of culture like raw dairy. Just be sure to mix your starter culture into your cream well (step 2) and it will turn out splendidly.
- To hurry along the culturing process, you can warm the cream slightly in a pan before culturing – no more than 90 degrees is necessary. You can also place your sour cream into your Excalibur dehydrator on its lowest setting for culturing. Like I said, I usually put mine into my Wonder Ovens with my homemade yogurt jars to incubate where the cream stays slightly warm without my having to heat it separately.
- When using raw cream, you may notice fluctuations in results during the year. In the late winter, for example, I often notice a thinning in the cream and a slightly sour flavor as winter hay runs low and the cows are yearning for the fat, verdant pastures of spring. The way I counteract those less appealing results is to add a little extra culture to the batch and be sure to strain it after it has incubated.
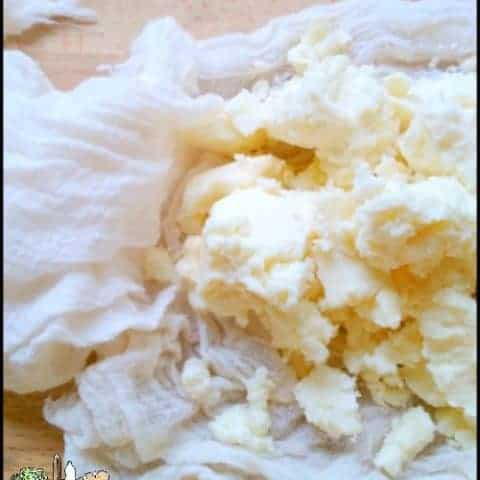
- The end product is slightly softer than store bought sour cream. To thicken it, you can strain it through some cheese cloth for a few hours.
- Strain this product overnight for a delightful, sweet cream cheese.
A Special Note for Goat Milk Cream:
Goat milk is naturally homogenized, which means that the fat globules are already mixed with all the other proteins and components of milk. With goat milk, the color of both milk and cream will be bright white, but you can still spy a cream line where the rich, thick cream gathers at the top of the jar.
However, it takes several days, as opposed hours with cow milk, for goat cream to rise to the top of your jar. Part of the reason for this is that the fats are simply smaller.
This is why a cream separator is most often suggested for cream extraction of goat’s milk. They’re not cheap, but they do the job well for goat’s milk.
For Goat Owners
This is an extra step and associated cost with keeping backyard dairy goats. However, these smaller fat particles are part of what make goat milk easier on the digestion of people who struggle with cow milk.
To learn more about the nutrition and ease of digestion of goat milk, please read Better Hens and Gardens article 5 Reasons to Choose Nigerian Dwarf Goats. The first reason she outlines in the health of goat milk. (She has four other compelling reasons to consider these great dairy goats, too!)
If you love your backyard dairy goats but don’t want to bother with a cream separator, you can do like we do and purchase fresh cow milk (or just cream, if it’s legal where you live). With a variety of milks and creams you can make so many different dairy products at home.
More Do It Yourself Dairy
Three-step sour cream is brought to you today in part from the best dairy ferment book ever, The Art of Natural Cheesemaking (page 97), although Mr. Asher shows you how to do a myriad more of cool things with cream.
My favorite thing about this book is that he explains how to make cheeses and cultured dairy products without the use of commercial cultures – he even shows you how to make your own rennet!
Read a review of this book here.
Would you like more tips for the homestead kitchen? Just turn to The Homestead Kitchen chapter of The Do It Yourself Homestead. Don’t have a copy, get your own here. If you’d like a FREE sample from the kitchen chapter, simply email me at Tessa@homesteadlady.com.

Cultured Dairy Resources


How to Make Feta Cheese
Feta is an easy cheese to make at home! Here’s a step by step tutorial that any newbie cheese maker can succeed with – enjoy homemade feta cheese tonight.

How to Make Farmer's Cheese

How to Make Milk Kefir Cheese
—>>>Pin for Later<<<—


So let me get this straight.
#1- I can buy buttermilk from the store
#2- put it into a mason jar with the lid fitted loosely
#3- let it sit for 48 hours
#4-then it is sour cream
#5- strain it to thicken it
PLEASE tell me if I am correct because we love sour cream.
The short answer is, yes! Each batch of buttermilk, especially once it’s been pasteurized, will beAhave differently – brand to brand is going to be different. Also, buttermilk isn’t quite as thick as cream. Those are my two cautions but, yes, it will clabber and you will get a sour creamy product. When we start making our own dairy products, we need to be prepared for them to be different from store bought just because we don’t usually include all the additives they do to thicken and even color the product. So, you may need to fiddle around with your buttermilk and your process until you hit something you like best.
As I said, I prefer cream because of the end result but that’s totally relative. If you aren’t satisfied with just buttermilk, maybe try a mixture of both. Or, use mostly cream and just a few tablespoons of buttermilk to culture the cream. Or stand on your head while it cultures or sing it a song. 🙂 The point is, dairy ferments are varied, tasty and easy to experiment with at home.
One last caution, watch it as it cultures because if the ambient temperature is really warm, it can move past souring and thickening to soft cheese. Which is NOT bad, it will just have a different texture than sour cream. If that happens, mix it with herbs and salt and spread it on baked potatoes. See, not bad at all.
Let me know if you have questions or problems! Thanks for stopping by!
I love sour cream. Can’t buy it where I live, but I can get fresh milk. My question is…how do I get the cream from the fresh milk? I’m assuming I need to do something to the milk to separate the cream out?
What a smart question, Janay! I’ll go amend the article right now to include that information. Sometimes you do something for so long that you forget it was once new to you.
I love how simple this is! For something that can get pricy to buy, making your own is such a better option.
Amen to that! These days, all the kitchen DIYs we can manage will save us money. Thanks for stopping by!
I’m have cream that I separated about week ago or more ago that I didn’t get around to using. It is quite thick now and sour smelling. Is it safe to use or should I discard it at this point?
Also, I have uncultured buttermilk left from making butter from fresh cream. Can I culture this with clabber?
Thanks for asking your questions, Christine! I can’t comment regarding the safety of the cream you have because I don’t have all the details and wasn’t present to see the process of is souring. I can only tell you what I would do, which is if the cream was raw and doesn’t have any off color or smell, I would use it. If the cream was pastuerized, has off color or off smell, I would put it in the compost.
It bears mentioning that there’s a difference between “safe to use” and “unpalatable”. Cultured dairy can still be safe to consume while also being so far fermented that the smell and taste are unappealing. Each person’s taste buds are so different, too!
Yes, to your second question!
A great book for naturally fermented dairy is David Asher’s, The Art of Natural Cheesemaking. Using raw dairy and simple cultures, Asher will walk your through pretty much everything you need to know about low-input, simple fermented dairy.
Hope that helps!