If you’re wondering how to make natural dyes for Easter eggs, I suggest you begin by reading this article. After you’ve tried it once or twice, making your own natural dyes each holiday will be easy for you and you can start experimenting with new materials. Just for the sake of science, we’ve included a comparison we did of homemade natural dyes and purchased natural dyes. We’ve also included tips and troubleshooting!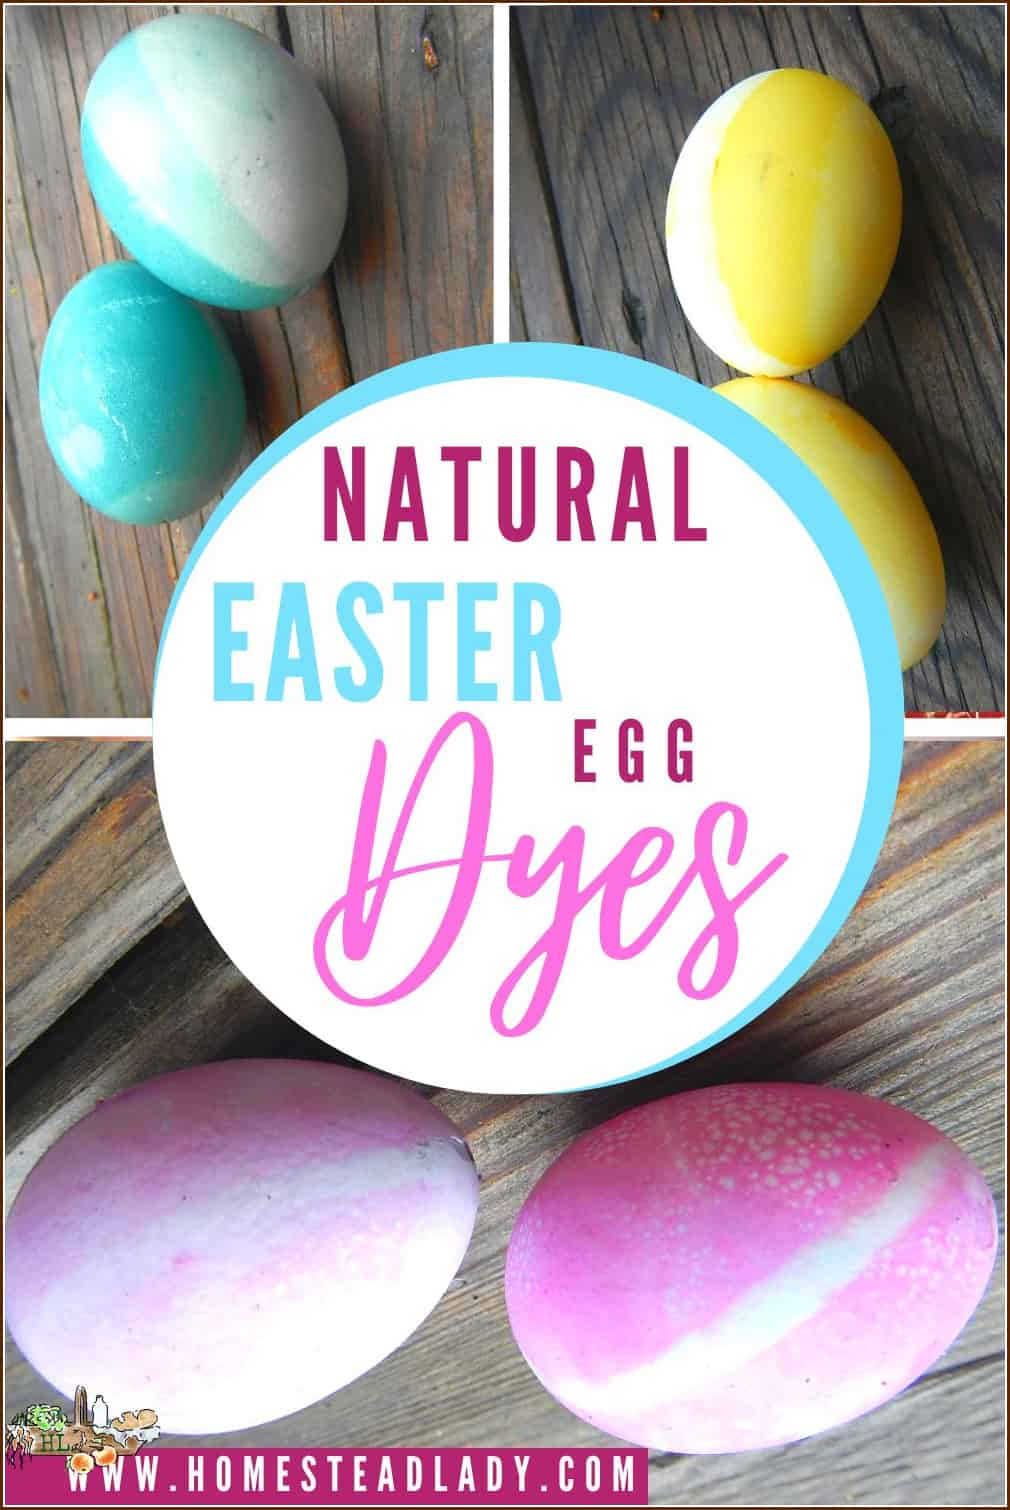
Why Use a Natural Dye?
Many families are choosing to create a new normal to our holiday celebrations by removing the commercial dyes from their diet and activities. For a great article on why commercial dyes can be dangerous to ingest (along with other ingredients), here’s a comprehensive article from Whole New Mom – Food Affects Behavior.
If you’re trying to make the switch from commercial dyes that you buy in the store to natural dyes you can make yourself, you’ll need to learn some new skills. No worries!
Natural dyes are fun – you can even turn them into science projects with the kids. Be sure to take detailed notes, if you need to do a presentation for a science fair or school project. To see how we did ours, click below.
>>>—Click on the link to see our Natural Dye Experiment from the Children’s Garden—<<<
Make Your Own Natural Dyes
The following are some tips for making your own natural dyes for Easter eggs. Here are a few things to consider first:
- These dyes will work well for eggshells but if you need to dye fabric with natural dyes, please visit the links at the bottom of the article. Eggshells and fabric are very, very different when it comes to taking up and keeping natural dyes.
- Some of these dyes may work to color frosting. However, I find that, when the natural dye is in liquid form, I usually need so much of it to color enough that it makes the frosting too wet. There are other ways to naturally color frosting and decorating sugars. Again, see the bottom of the article for more resources on natural dyes for baking. Just to get you started, the following is an article on how to make a natural green dye for frosting.
>>>—Click on the link for a Natural Green Dye for Frosting—<<<
- I have some suggestions for materials to make natural dyes but please don’t feel confined by them. The truth is, part of what makes natural dyes fun is that they’re unpredictable and new.
- If you forage wild plants, be careful not to use any material that is poisonous.
>>>—Click the link to learn How to Safely Forage Wild Foods—<<<
The Basic Process of Making Natural Dyes
Here’s the basic process of producing natural dyes but be sure to read through to the end of the post for A LOT more information. For example, we give you plant suggestions for producing specific colors. We also discuss troubleshooting when working with natural dyes for Easter eggs.

How to Make Natural Dyes for Easter
Equipment
- A variety of saucepots
- A variety of cups deep enough for the egg and dye - these will be the "dye baths"
Ingredients
- Water
- Vinegar
- Plant material
Instructions
- If you’re using fresh eggs from your own chickens, soak your eggs beforehand in some hot water and a bit of vinegar overnight. This step makes it possible for you to rub off the protective layer that’s over the egg shell. That layer will come off after it soaks in your dye baths and it can take a good deal of the color with it. If you’re using washed eggs from the store, this step probably isn’t necessary.
- If you haven’t done a vinegar bath on your eggshells, be sure to add 1 teaspoon of vinegar per 1 cups of dye liquid. The acid helps the colors stick more vibrantly to the eggshell. Without it, your colors will be a bit boring. I found that baking soda can lead to a more vibrant color in some natural dyes, but I have yet to discover a pattern to explain the chemistry (admittedly, I am NOT a chemist).
- If you’d like to empty your eggs of their contents, just visit our post on Blown Eggs for Easter.
- Bring one cup of your dye material to boil with two cups of water. Allow it to cool and strain out the dye material.
- Allow eggs to sit in the dye baths (cups) overnight for the brightest colors. Light colors will result from several minutes to several hours soaking in the color bath. Natural dyes usually take longer to leave color on eggshells than commercial Easter egg dye tablets.
- If the naturally dyed colors fade a bit as they dry, rub some coconut oil over the eggs to keep them fresh. Just warm the coconut oil in your hands and be gentle as you apply it. We use blown eggs for our Easter egg dyeing so we have to be extra careful of breakage.
Notes

Natural Dye Color Materials
There are a lot of herbal dyes you could use but I’ve limited this list to things you might have around the kitchen. Like I said, experiment! Just be careful to use nothing toxic.
- Reds and Pinks can be produced with beets, cranberries and red onion skins. My favorite is beets.
- Orange is best produced from thick-skinned, yellow onions like Walla Wallas. Use the outer skins that are the driest and darkest. I haven’t found anything that produces orange better than onion skins but paprika will also work.
- Yellow can be made with saffron and turmeric, fresh or dried. You can also use curry spice mix, if that’s all you have, since it contains turmeric. Since saffron is so expensive, I prefer turmeric. The saffron will produce a lighter yellow, while the turmeric will give you a golden yellow. Both will stain, FYI.
- Green is THE hardest natural color to produce. If you have access to sumac leaves, they will produce a pure green eggshell dye. Green matcha is purported to work but, unlike these others, I have yet to use it. Chlorophyll can color white eggs if you follow the above process and leave the eggs to sit overnight. The color will, in my experience, be a very light green, but it’s pleasant.* See the notes below.
- Blues and Purples can be produced with red/purple cabbage, grape juice, fresh grapes of either purple or red, as well as blueberries. Grape juice is my favorite purple color, especially from Concord grapes. See the notes below.
Special Natural Dye Color Notes
You can mix 1 cup red cabbage dye preparation (blue) with 1-2 tsp. powdered turmeric for an olive green color. Sometimes my color ends up wonky when I do that, but it’s decorative regardless. The gold of the turmeric is SO persistent that it mostly ends up yellow with a tinge of green.
If you add vinegar to purple cabbage dye preparation (blue), it will turn it a lovely pink color, FYI.
To make the blue of cabbage dye a little more blue, add 1/2-1 tsp. of baking soda to 1 cup of dye.
We use about a cup of the grape juice concentrate that we can up every year. You can add water to the dye cup to lessen the concentrate and make it go farther, if you need to.
>>>—Click to learn how to Make Your Own Grape Juice in a Steam Juicer—<<<
>>>—Or, click the link to learn how to Make Grape Juice in the Instant Pot—<<<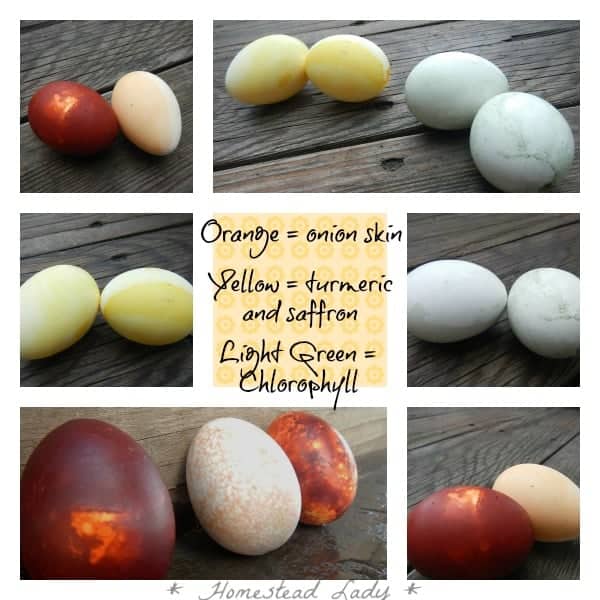
Natural Dye Notes
Here are a few things to note from the results of your natural dyes for your Easter eggs:
- The best container for Easter egg dyeing with natural dyes, in my opinion, are squat, wide-mouth pint canning jars. You can see the color well through the glass and the opening at the top is large enough to work with. Tall pint jars work well, too.
- The onion skins and beets will dye the eggs shells immediately; the color sets right away.
- The plain cabbage dye and the grape juice dye are usually the next fastest to set color. However, if you want a good amount of color, the eggs need to sit for a few hours. Colors left overnight will be much darker.
- That’s probably the hardest thing about this process – the waiting! We’re used to a few minutes and nearly immediate color combinations with commercial dyes.
- Eggs soaked overnight in grape juice may produced a texture on the shell – almost like sandpaper. I’ve had this happen with home-canned grape juice and I’m guessing it’s the tartaric crystals that are naturally present. Any chemists out there want to explain the reaction between the tartrates in the Concord grape juice and the calcium of the eggshell?
Creating Effects with Natural Dyes
If you want to create artistic effects on your shells, you can do that in various ways.
- Place rubber bands around the shells, or color with a white crayon on the shells before you dip them, to create areas that don’t take up dye.
- Put leaves with a strong constitution (like parsley) onto your shell, and then put your shell inside a piece of nylon stocking, tying it securely at both ends. A piece of cheesecloth around your egg and leaf will work, too. Then, simply put your egg into the dye bath. I like to use small, field daisies, too, if they’re up by the time Easter rolls around. This dyeing with botanicals creates incredible effects. For more information, see the links at the end of the article.
- You can also paint eggs with water colors or acrylics, or use any number of stamps and ink. Even stickers can embellish naturally dyed Easter eggs.
- You can sprinkle salt on the surface of a newly dyed egg and let it sit until it has dried. This will create a speckled effect.

Commercial Plant-Based Natural Dyes?
We have natural dyes on hand for coloring frostings and so we thought we’d compare the two – homemade natural dyes vs. commercial natural dyes.
So, we did another experiment and called it “Easter Eggs – Natural Dye vs. Natural Dye”! How did they compare? Well, you be the judge.
The Colors of the Commercial Natural Dyes
As per the instructions of the commercial natural dye, we added vinegar to the red, orange and yellow and baking soda to the green, blue and purple. The orange and the yellow worked very quickly – each had some color within an hour. We did another dip for about five hours and those were darker.
The red? Well, um, it didn’t work.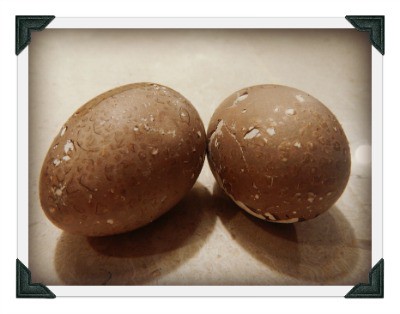 We struck out on the blue and purple with these, even after leaving the eggs in the natural dye for about ten hours. It said you could mix these colors like you would paint but the blue wasn’t blue to start out with – it was a vague, dark color somewhere between really? and wha?!
 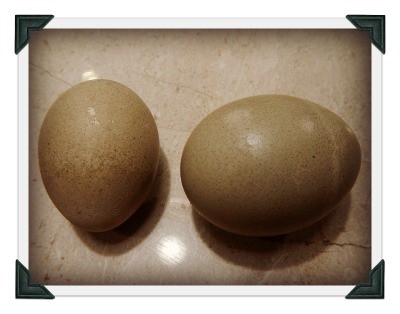 The green didn’t work either, sadly.
  I’m sure this brand of commercial natural dye makes really nice frosting colors but I think we’ll stick to the homemade natural dyes for future Easter egg dyeing adventures.

Natural Dye Resources
Below are some more quality resources for and about natural dyes. Enjoy! Let me know if you have any questions.
Natural Dyes for Easter Resources

How to Dye Easter Eggs with Blueberries

Natural Herb Stenciled Easter Eggs

No-Paint Rembrandt Easter Eggs - Made By Barb - dyed with nature & iron


Great article! 🙂
The science experiment feel is one of my favorite part of dying eggs naturally. That, and that (most of the time!) they just look more beautiful, and natural! Thanks for including a link to my article!
Have a blessed Easter!
Until I started home educating, I didn’t even know that I like science!! What a happy surprise to find that everything is science and its beautiful. Thank you for letting me use your link and a blessed Easter to you, too!
Great ideas and tips!! Almost makes me want to get messy and dye eggs this year. Almost.
Do you have kids at home? Mine don’t seem to indicate I have an option – we ARE dyeing eggs this year, Mama. 🙂
Love how you wrote you post. I believe natural dyes are the only way to go and they turn out so pretty. Thanks for sharing. Visiting from Wildcrafting Wednesdays. Have a healthy wonderful Easter.
I love it when homemade turns out better than store bought, don’t you? Come to think of it, it almost ALWAYS turns out better than store bought!
Its great that you shared this information. More people should be aware of the chemicals that are putting in their bodies and their children. I have not used chemical food coloring for years. I wrote a post for Valentine’s Day about using beets to make pink frosting.
Do you have a link you’d like to share? Those beets made the most beautiful dye!
Your eggs are beautiful! Thank you for sharing at the HomeAcre Hop!
This is SO neat! Thanks for the reminder on dyeing Easter eggs… I can’t believe it’s almost Easter, I haven’t even thought about it yet. I just realized that next year we will have our own blue Easter eggs straight from our Aruacana hen! I do have some pickled beets in the fridge though.. maybe that’d work for this year? 😀
Absolutely – just use any reserved beet juice from the bottle and you’ll get something that looks really cool. If you have some red cabbage or yellow onion skins, those are easy and effective, too. Otherwise, just enjoy the holiday with your family and plan to rock those Aruacana eggs next year! Being a mom on any holiday is hard so just have fun.
This looks so interesting! We will have to try this with our eggs, probably will use the homemade dyes too – the commercial natural dyes are so expensive!
You can say that again! I like them for quick frosting options but I don’t buy those commercial ones for Easter anymore – this is too fun!
Love all these -natural dye is just way more interesting and each one is so unique.
Great ideas here!
It is interesting, you’re right. I love the variety and the experimentation that naturally occurs with the kids when using them. So glad you enjoyed the post!
What a beautiful result you get! I prefer these softer natural colours to anything synthetic or plastic anyway. I’ll definitely have to give it a try with my littles this season.
I like them better, too! Plus, there are so many things to vary the results. It’s harder to wait, of course!
These are beautiful! I am going to get my kids involved with making the dyes before dying the eggs and call it our science lesson for the week 🙂 Thank you for sharing!
It totally counts as science – that’s what we use it for every year!
We are going to make them again this year with turmeric, yellow onion, red cabbage and beets. They always turn out nicely 🙂
So fun – those will be lovely!
I always use onion peels and beets, these work great. But I love all the other colors you made:) Easter is coming so your advice is very much appreciated.
Onion peels and beets are two of my favorites – they’re so easy!!