Using ones you buy or ones you make, you can decorate candles with kids this holiday for simple decoration or to give as gifts. This is a frugal DIY holiday gift and decoration idea that also provides a new and useful skill. Plus, it’s super fun to decorate candles with kids at parties for any holiday – Valentine’s Day, Easter, Christmas! Why send your guests home with plastic toys and more candy? Decorate candles together for a unique craft; here’s how.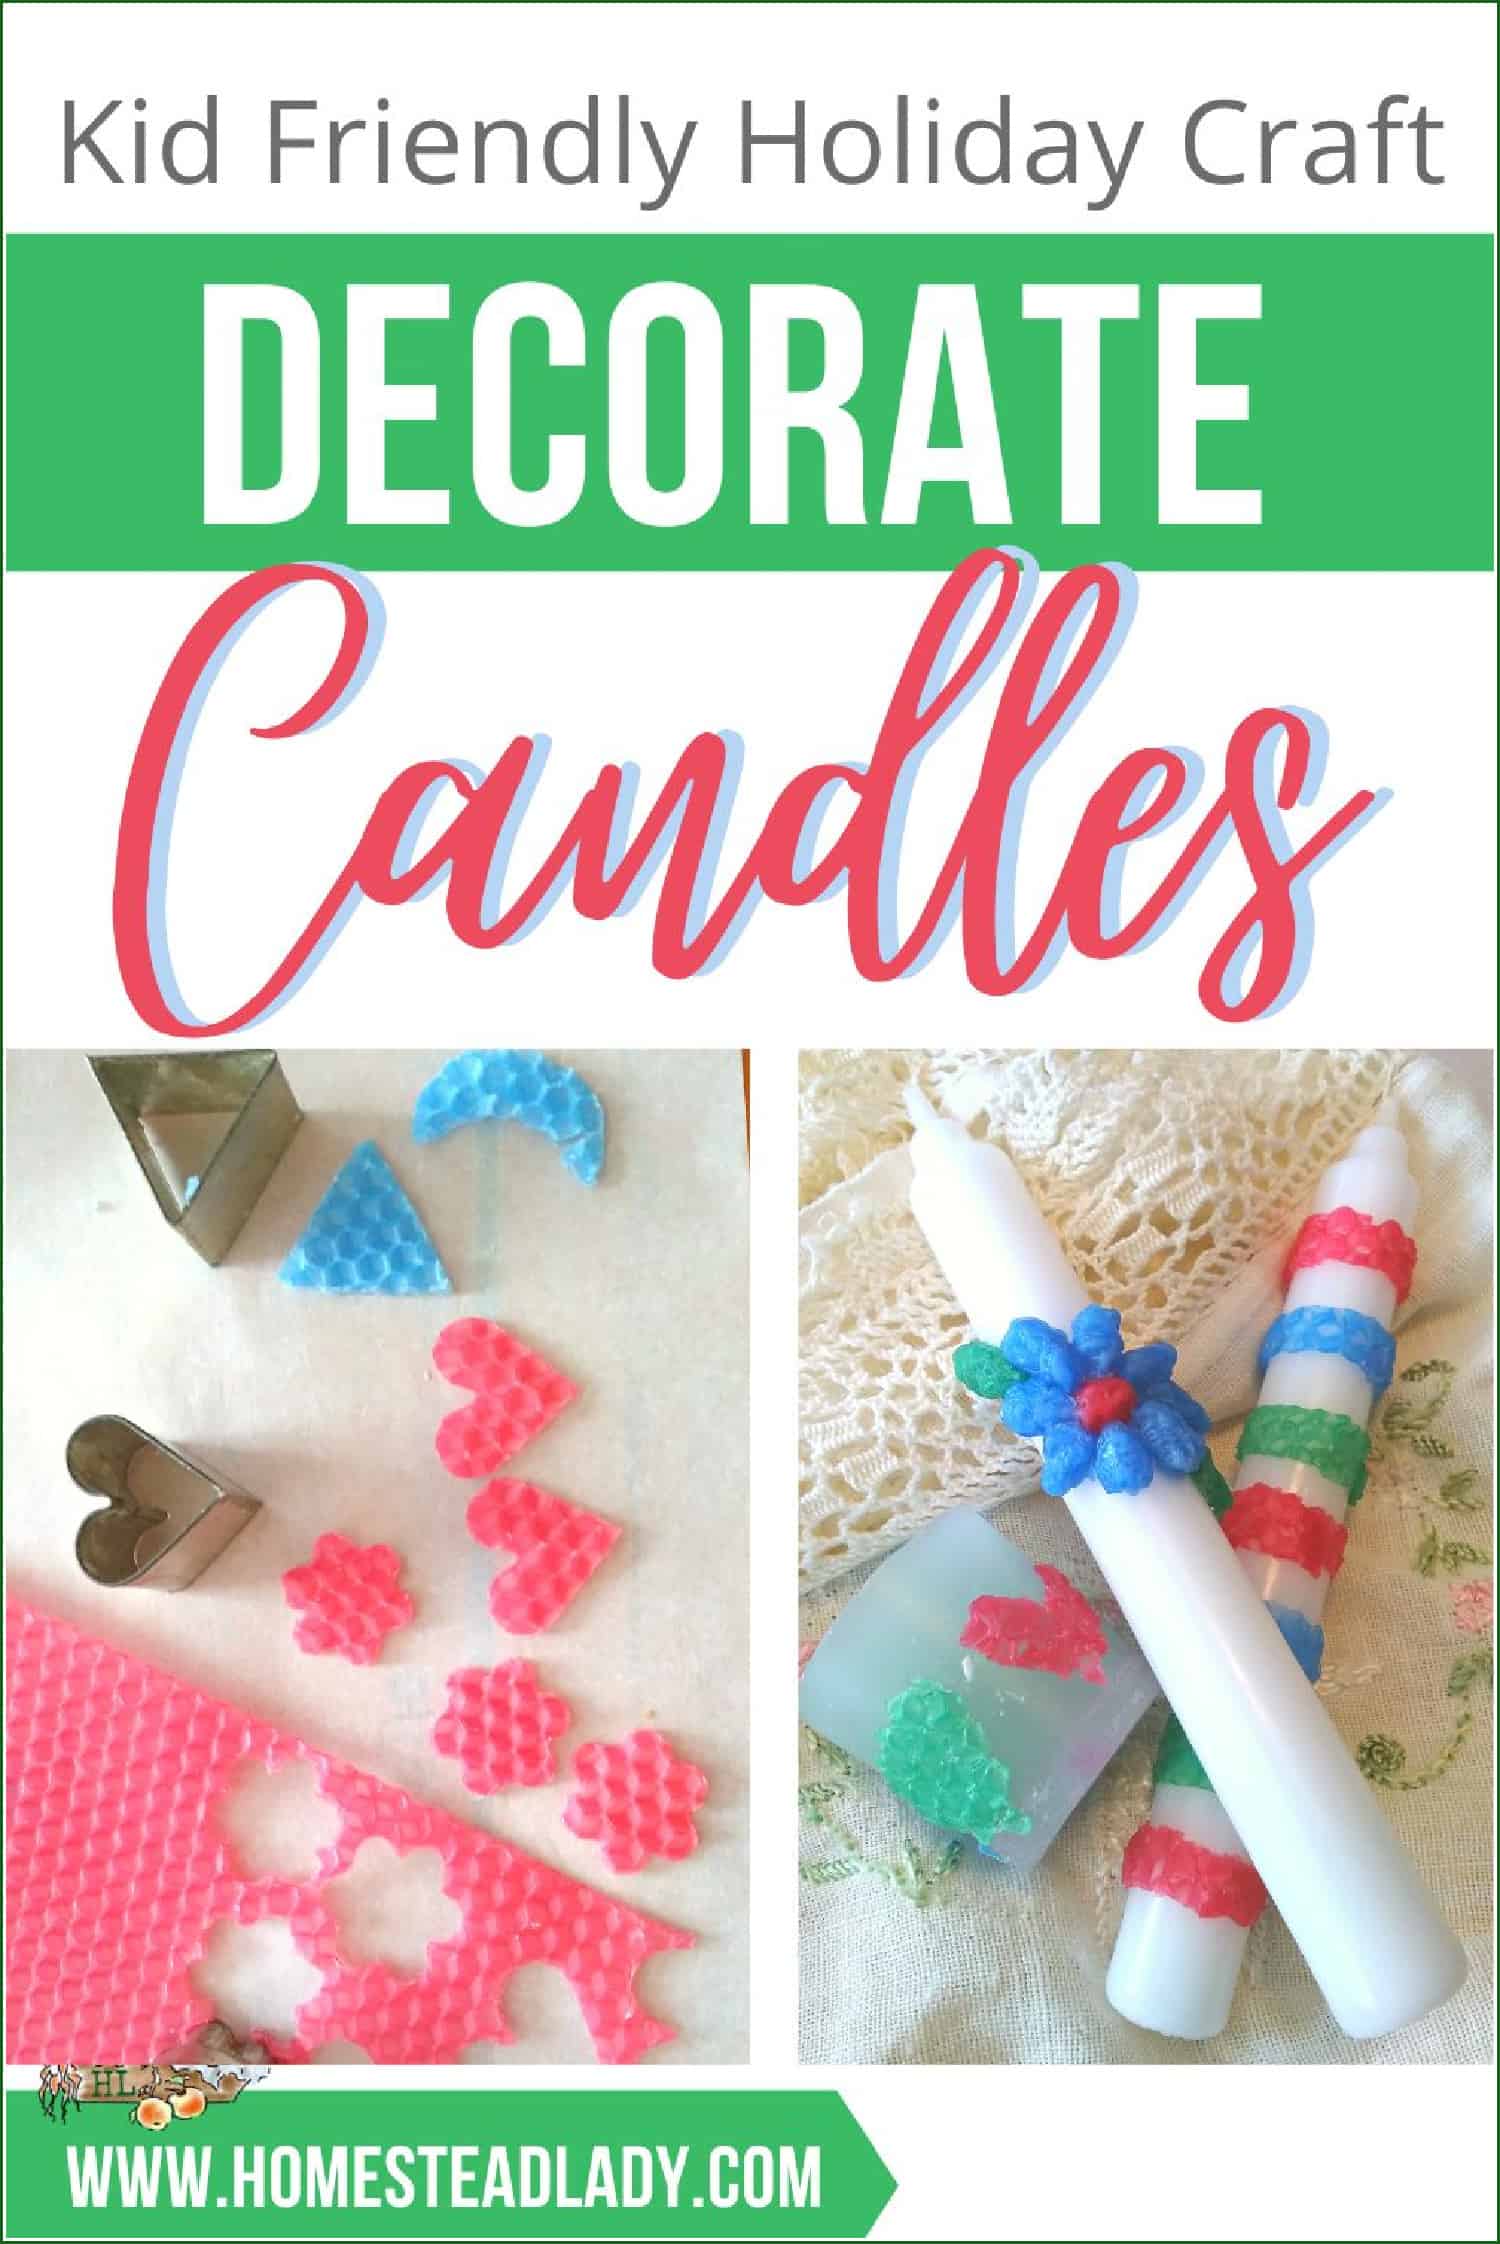
If you’re tired of plastic gifts, plastic crafts, plastic decorations for every holiday and special day, try a little DIY this time! You don’t have to do it all yourself, all the time – especially when it’s holiday time!
However, taking a little time to have some simple fun with your children will be rewarding with these simple ideas on how to best decorate candles with kids. We have step-by-step tutorials on several different methods, so scroll down to the one that looks the best for you.
Decorate Candles With Kids or Adults this Holiday
You don’t have to be a kid to find this candle decorating activity fun! I could play around with bees wax happily for hours, to be honest. I love the smell and feel of it.
So, don’t worry too much about following these instructions to the letter. Experiment with decorating candles and enjoy your creative side.
Decorate Candles: Rolled or Dipped Tapers
You can use extra bees wax sheets in various colors to decorate taper candles, either rolled or dipped. Be cautious if the bees wax sheets are cold or aged since this will make them more brittle. If you can, work with new sheets in a warm environment.
Here’s a quick how-to video but be sure to read all the instructions and trouble shooting below.
Let’s begin with cutting out our shapes to decorate candles:
- Lay out one sheet of colored bees wax on a flat, durable surface like cutting board.
- Using small cookie cutters or a craft knife, cut out very simple shapes. Don’t get too fancy with these and keep them as small as you can. If they get too big or too intricate, the more delicate features can become smudged or broken over time. Simple is usually better for younger candle decorators anyway.
- Carefully push the cookie cutter through to the back of the bees wax sheet. You can pick up the sheet if that’s easier. Tip: use a cotton swab to gently push your wax shape out of your cookie cutter, if necessary.
- Cut out a nice stack of shapes so you don’t have to stop every few seconds and cut more.
Attaching Wax Cutouts to Decorate Candles:
- Adults only: Use a pair of tweezers and heat the back of one shape over the open flame of a lit candle. Alternately, heat the back of your wax shape with a hot hair dryer. FYI, I find the hair dryer a lot harder to control than the flame.
- Tip: If you’re using an open flame, be careful not to touch your wax shape to the flame itself since this will leave black ash on your wax shape. It’s not a crisis if you do get ash on your shape. You can clean it off by quickly swiping the shape with a cloth while it’s still very warm. OR, you can simply get a clean shape. These cutouts will be thin, so manipulating them can be tricky. Sometimes it’s just easier to start over.
- Still using the tweezers and working very quickly, place your warmed wax cutout onto the candle.
- Gently press the shape into the candle until it’s secure.
Wax Cutout Troubleshooting :
- If you have trouble getting your shape to stick, it’s possible the surface of your candle is simply too slick. Gently score the surface of your taper with a craft knife or toothpick in a grid design. Keep the scored area smaller than the size of your cutout.
- If you’re still having trouble getting your shape to stick, it’s possible the cutout is cooling too much to stick before you place it. Work a little faster.
Wax Cutout and Candle Decorating Inspiration:
There are so many different variations of ways you can decorate candles with wax cutouts. Here are just a few ideas:
- Red, green and yellow, or blue and white, circles for Christmas or Hanukkah
- Specific shapes like hearts and flowers for Valentine’s Day or May Day
- Stripes of color up and down like the stripes of color on an Easter egg
- Clovers in green for St. Patrick’s Day
- Stripes of the color of your flag for your country’s independence or patriotic holiday
- Stars and moons for Solstice or Equinox
- A big mess of colors for Holi or Day of the Dead

Candles are beloved of most cultures and peoples, but they specifically work their way into many holiday celebrations. Because of this, holiday decorated candles make unique and loving gifts for people who are special to you.
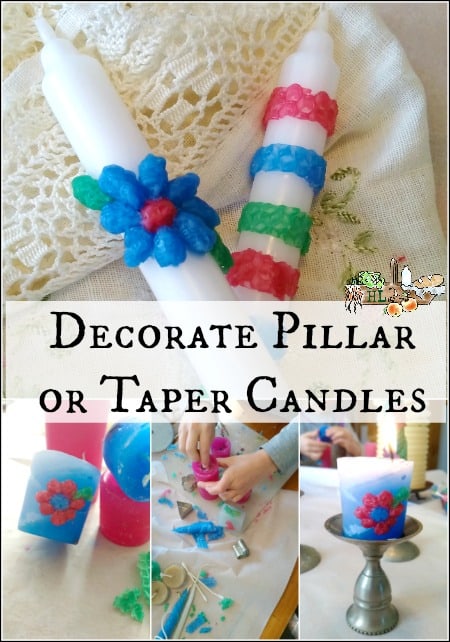
To Decorate Pillar Candles
- Sketch some designs before you begin to decorate candles. Remember to keep your designs simple at first. Flowers, hearts and leaves all make nice starter shapes for decorating pillar candles. If you’re feeling adventurous, you can try a snowflake or a monogram.
- Using the remnants of your bees wax sheet cutouts, prepare individual elements for decorating your pillar candles. Bees wax is soft and malleable, so you should be able to use up all your leftovers decorating the pillar candles you have. If you’re using new bees wax sheets, use a pizza cutter to cut long strips of color that you can break apart as you need them.
- Craft individual elements of your design until the design is complete.
A Flower Candle Decoration Example:
- For example, if you’re making a flower, get just enough wax for one petal at a time.
- Taking the wax for one petal, warm and massage the wax until you can press it into the shape of a flower petal. Work with it and continue to apply gently pressure until you’re happy with the result.
- Repeat this process until you a total of five petal shapes and one or two leaf shapes.
- Shape a small ball of wax for the center of the flower.
- Using the same process as described above, use tweezers to hold your shapes. Heat the back of each element over an open flame and affix to your candle as quickly as possible.
- Allow the candle decoration to dry and hardened completely.
Instructions for Adding Flowers or Scrap to Decorate Candles
You can also decorate your pillar candles with dried, pressed flowers or pretty paper scrap. These items are placed on the outside of a finished candle attached with a layer of melted wax.
Decorating previously-made candles can be done in a variety of way. For example, if you make these rolled beeswax Christmas tree candles from Joybilee Farm, you can decorate them with small ornaments made of wax, paper, clay, etc.
Before we get into those ideas, though, here’s a safety note!!
SAFETY NOTE
Adding botanicals or scrap to your candles increases their risk as a fire hazard. Keep any pressed flowers very small and down low, at the bottom of the candles. Keep scraps of paper stamp-sized and also at the bottom of the candle.
Keeping flammable material at the bottom of your candle decreases the chances of it catching of fire. Always watch a lit candle and NEVER leave it unattended.
Keeping your decoration at the bottom of the candle has the added benefit of keeping your decorated candle lovely as long as possible. If you have a lot of decorative material you’d like to use, keep your candle plain and make a Bees Wax Candle Luminary with Joybilee Farm.
You can use our basic process below for affixing a few flowers and keeping your luminaries simple. Or, you can use this more in-depth method from Candle Tech to create very lovely, if more involved, decorated luminaries.
Steps to Decorate Candles with Flowers or Scrap
- Use a re-purposed metal in a double boiler to melt down some bees wax or other candle making wax. Paraffin is a common candle making wax. Place wax in the can and place the can into a pot with water about half way up the can. Be sure to place a canning ring or steaming rack in the bottom of the pan to prevent scorching or overheating of the wax.
- Melt the wax on medium heat.
- Working quickly, use a toothpick to get a small dab of melted wax to affix your flower or scrap where you would like it to be at the base of your candle. Press the flower gently but firmly onto the melted wax.
- Place all pieces where you want them.
- If you are making a luminary, use a small painter’s chip brush to brush on melted wax to cover the surface. Work quickly to keep the texture as smooth as possible. Or, make interesting grooves and surfaces on your luminary by letting the wax cool a bit and running the brush gently over the surface. Be careful not to disturb your flowers or scrap.
- If you’re decorating the candle directly, hold the candle by the wick and be careful of your fingers as you dip. Quickly dip the decorated candle into your melted wax vat. Remove the candle just as quickly. Holding the candle in the vat too long will result in the decoration being sloughed off and layers of your candle melting away.
- This quick dip in the wax vat will put a thin layer of wax over the top of your candle decorations, sealing them in permanently. This step is only recommended for older teens and adults.
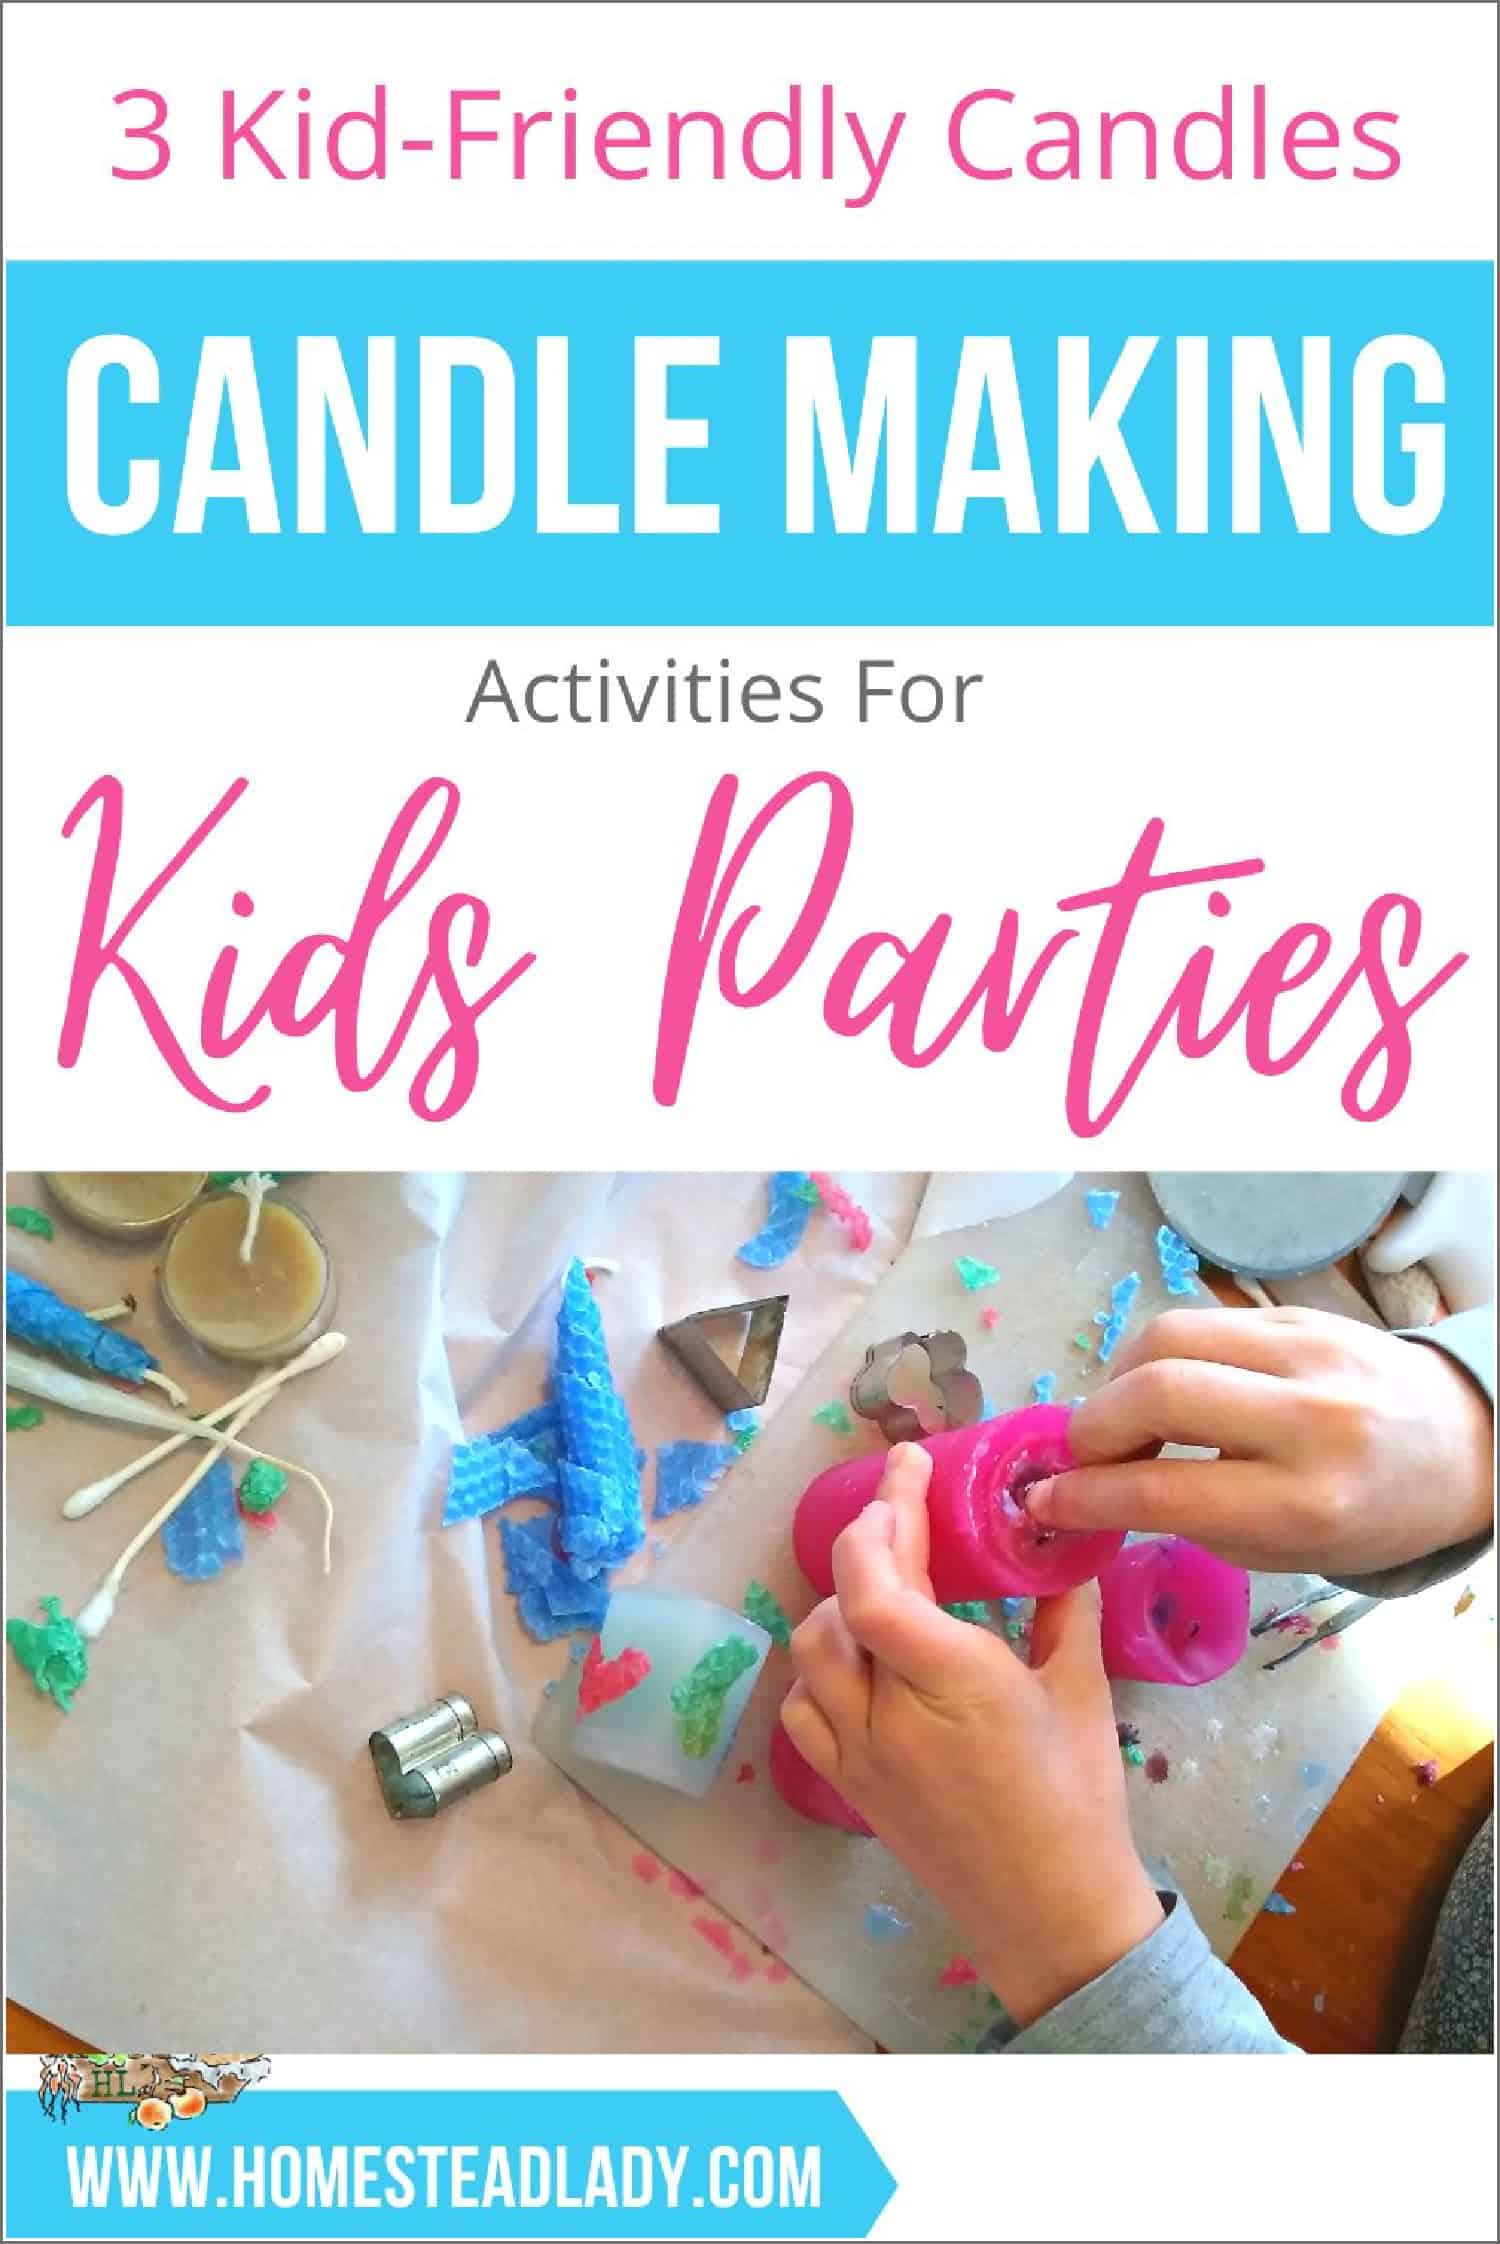
Candle Making for Homestead Families
You can certainly buy taper or molded pillar candles for this craft – you do NOT need to make them! However, if you candle making is one of those homesteading, old-time skills you’ve wanted to learn anyway, why not now? There are several different types of candles you can make that would all be suitable for decoration and gift giving.
There are:
- simple, rolled bees wax candles that even small children can make
- dipped candles that can be made as small as birthday candles or wide enough for a candlestick
- molded candles that can be made in many shapes and sizes, including simple pillars and even ornaments
All these types can be used to decorate candles for holidays or gift giving. To learn how to make each one, there are a lot of online tutorials – just google it. If you’re going to teach candle making to kids on the homestead, though, you’ll probably want to read our article on the subject.
We outline how to teach three different types of candle making to children or groups of people (even adults). With clear instructions and video help, we hope this article will be helpful to you.
—>>>Make 3 Types of Candles with Kids or Groups<<<—
If you try these candle activities and decide you’d like to learn more about candles, we have a great book for you!


Leave a Reply