Don’t let the apple harvest rot in your pantry! Here’s a tutorial for healthy DIY apple chips in the dehydrator. BONUS, a free excerpt from our book, The Do It Yourself Homestead, on how to turn apple scraps into light apple vinegar.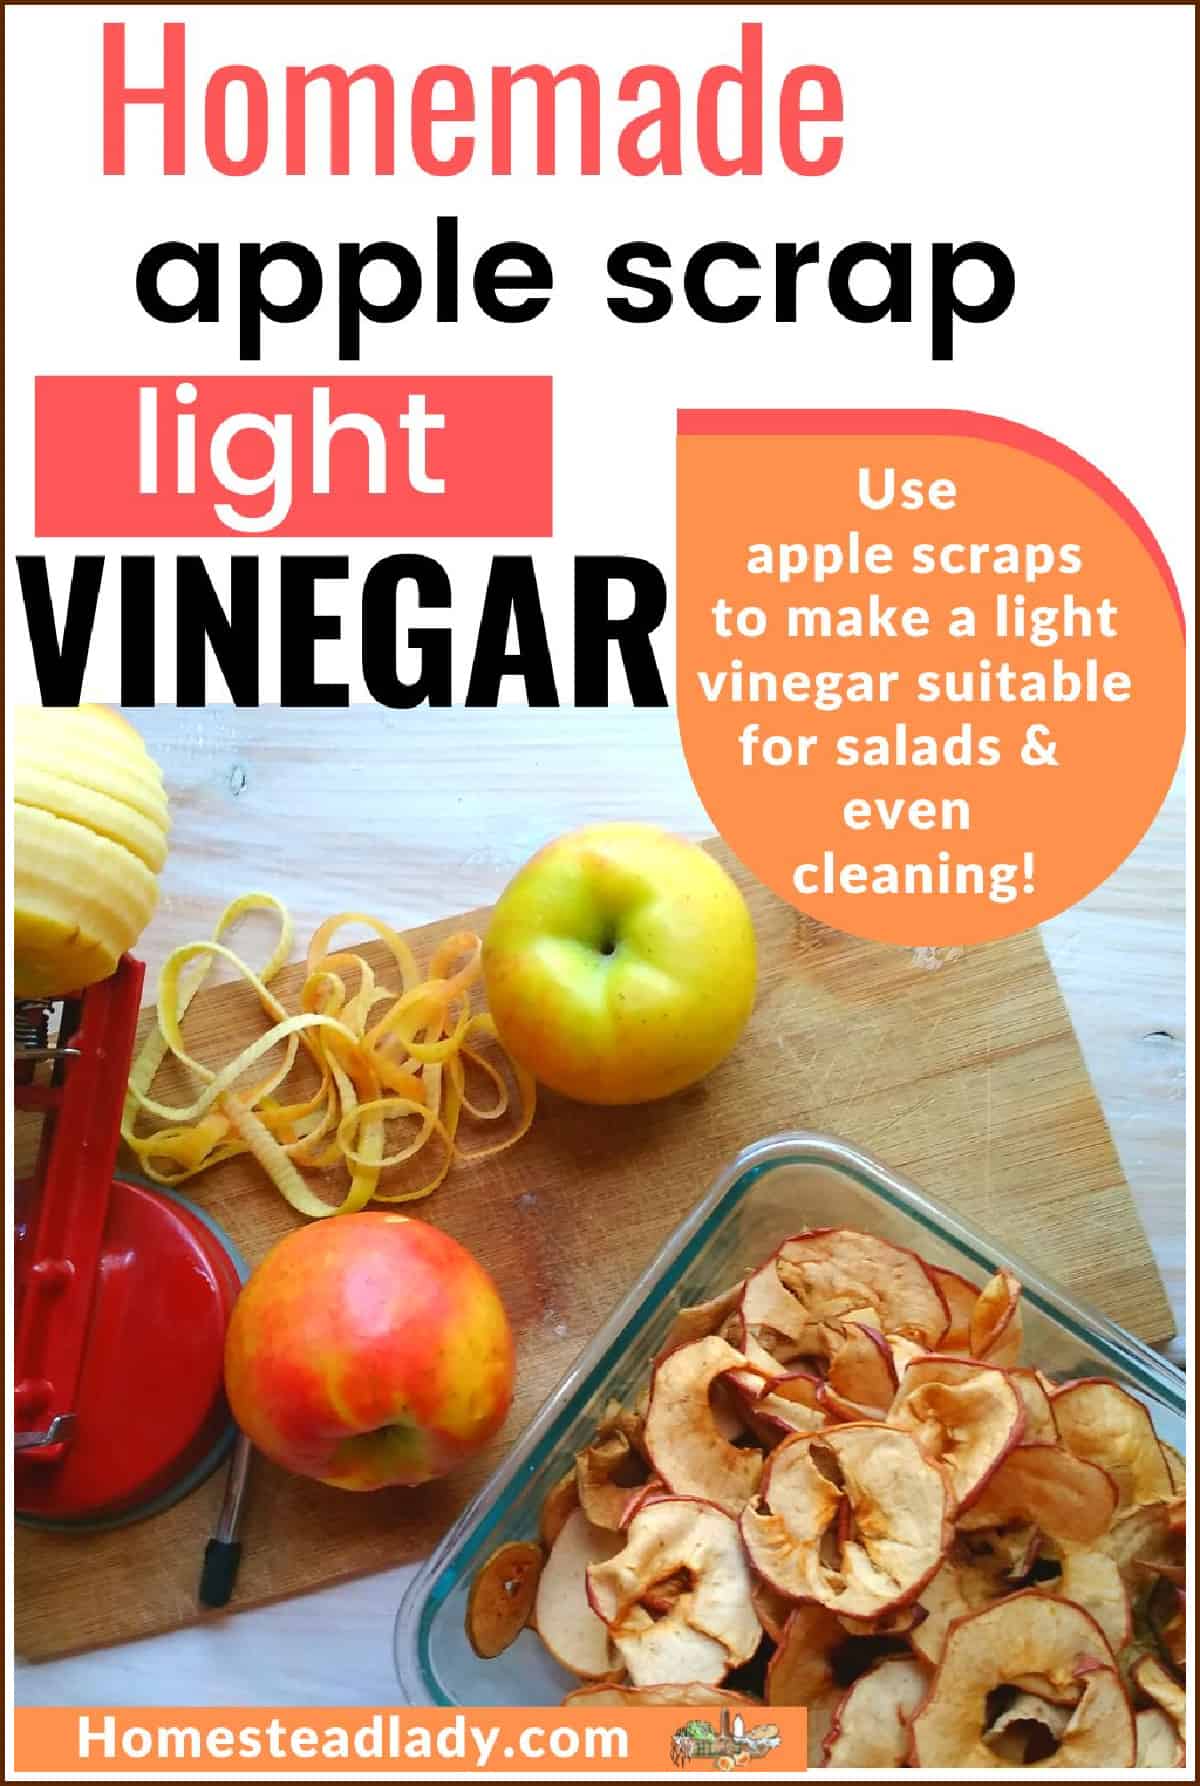
Preserving Apples
Apples are a delight at harvest time but you can preserve their sugary goodness to enjoy throughout the year. Dried apple chips are really versatile in the kitchen and can be tossed into so many recipes. They also make a great food storage item that kids will actually eat – include them in the process of making dried apple chips and they’ll love them even more.
- For late summer harvests, save yourself some money and use your solar oven as a dehydrator to make apple chips.
- To learn to make caramel applesauce, please visit this link.

For versatility, I really like to dehydrate apples to add to oatmeal, sweet breads, cobblers, and even just to snack on throughout the year.
Dehydrate Apples for Dried Apple Chips
The sugary goodness of the apple intensifies when you dehydrate it making apple chips divine. They’re also very simple to make.
There are a lot of sizes and several shapes of dehydrator but I use the Excalibur brand with several square trays to fill. The guy who invented the space shuttle is cool, I’m sure. But, whoever invented The Excalibur should be knighted. I love this machine!
Prepare Apples to Make Dried Apple Chips:
- Invite the kids or grandkids to come do this with you.
- Second, select and wash your apples (really any variety will taste yummy, except Granny Smith types which are a bit too tart). This is an excellent job for kids who delight in finding the nasty, sqooshy parts.
- Cut away any rotting bits or really deep bruises.
- Slice the apples uniformly thin with an apple slicer/corer. This is an excellent job for kids – in fact, they’ll probably fight over who gets to operate the unit.
- Note: if you’ve had to cut away too much of the apple, the slicer can be hard on the apple and it may just fall off. Sometimes, if the core of the apple is rotten, the slicer can’t hold it steady and that will cause it to fall off, too. Do your best to get the apples cut about the same width to ensure uniform dehydration. If you have a mandolin slicer, that can work well, too.

To Keep or Toss Peels for Dried Apple Chips?
I sometimes keep the skins on my apples because they’re so nutritious. However, it’s common to peel the apples first. Skins can get a little tough once dehydrated. We eat the apple chips both ways.
The apple slicer/corer has a skin remover than you can either engage or disengage. These are your chips, do what you want.

To Dehydrate Apples Chip Slices in a Dehydrator
After you’ve sliced the apples, place them on the dehydrator sheets. Try to make sure they’re not overlapping to ensure uniform dehydration.
Set the dehydrator to anywhere between 115 F/46 C (a raw foods setting) and 135 F/57 C (for quicker drying) for about five hours. Check them frequently to see if they’re done.
I live in a really dry climate and so my stuff never takes the full range of time recommended for most things in my dehydrating book.
If you want them a bit chewy, plan to dry the apple chips for a shorter amount of time. A long dry time will produce a crispy dried apple chip.
Using Dried Apple Chips
Here are some suggestions on how to use your dried apple chips:
- Make Dried Apple Tea from Homespun Seasonal Living
- Use dried apples to make this vintage apple pie recipe with Everything Pies
- If you have sourdough, make this Dried Apple and Walnut Sourdough Bread from Live For Pizza
- Make a dried apple bird feeder from Hoosier Homemade
- We like to sprinkle some cinnamon or Parmesan cheese on a few batches and take them to dance practice and book group
How to Store Dried Apple Chips
It’s important to store your dehydrated apple chips as quickly as possible after they’ve cooled. If you live in a dry climate, your air will be more forgiving if you have to leave your tray of apple chips for a few hours. If you live in a humid climate, it’s very important that you don’t allow dehydrated food to sit out.
As Shelle Wells writes in her book Prepper’s Dehydrator Book,
Take it from my experience: if you leave your dried tomatoes on the counter overnight in a humid house, they will need to be reprocessed a second time the next day. Think of dehydrated food as a moisture sponge; it love to absorb liquid and humidity.”
Shelle suggests storing your dehydrated foods in glass jars with tight lids directly after dehydrating. You can keep your eye on the jars for a few days and look for any condensation on the glass. If you see water collecting, you will need to re-process your apple chips.
If there’s mold present, dump the batch in the compost and try again.
After you’ve double checked that they’re dry, you can store your apple chips in any air-tight container. Consume them within the year for the best taste.
Apple chips aren’t good for long-term food storage, but ours wouldn’t last that long anyway since we devour them quickly.
Make Apple Vinegar with Scraps
But wait, there’s more! The cores, non-moldy parts and random peelings can be used to make a light apple cider vinegar.
Here’s an excerpt from our book, The Do It Yourself Homestead to teach you more:
“Make apple vinegar with saved cores and skins. Though not technically apple cider vinegar, this will process will produce a pleasant, light vinegar especially suited to salad dressings and marinades. If you ferment it for around a year, it will more closely resemble the apple cider vinegar you buy at the store.”

Light Apple Vinegar
Ingredients
- Apple Scraps from 10 apples or 5 whole apples
- Unchlorinated Water enough to cover scraps
- 1 Cup Raw Sugar
Instructions
- Collect apple bits from about ten apples (or you can use five whole apples), putting them in a large glass container and covering them with un-chlorinated water.
- Add a cup of sugar and stir until it’s dissolved.
- Remove any floating bits of apple or seed and cover the container with cheesecloth or muslin, securing with a rubber band. Allow the apples to sit on your counter for about a week; you’ll see bubbles forming as the sugar turns to alcohol.
- Once you can smell the alcohol, strain out the apples and pour the liquid into glass jars (I use my canning jars).
- Put fresh cheesecloth over the top and ferment for about a month more until it starts to smell and taste like vinegar.
- A little sediment will appear at the bottom and an odd-looking, mushy thing will form at the top; this is called the “mother”. All of that is perfectly normal and means your vinegar is doing well—Congratulations!
- Use simple pH strips to measure the acidity – it should end up between one and two.
Notes


I use homemade apple vinegar for cleaning most of the time. Here it is all bottled up for use in the laundry and bathroom:

A Little at a Time
Keep working at your apples until they’re all preserved for the year. I’m slow but I eventually get there.
Today I’m at one bushel down and four to go…simple abundance.


Dear Tessa,
I am so excited to think I may be able to make ACV sometime too after I get more apples! Thanks to you, I’ve opened up my mind to think I can do it 🙂 Also, I’m loving the wonderful photos of your precious children! I can tell you lead a beautiful life and are a very good Mama!
Merry Christmas to you and your family! May the grace and mercy of our Lord abound to you all 🙂 Sending warm wishes,
Jacqueline
Right back at ya, Jacqueline! Thank you for your kind words and a Happy Christmas to you and yours!
All this apple pictures make me hungry :), Thank you for mentioning my blog, yes I like apples! Happy Christmas to you and yours!
You betcha – thank for the great post.
Happy Christmas!
Wow! Thanks so much! Yet another way to use my beloved Excalibur!
Your apple chips look great! I wanted to take one and eat it!
Thanks for posting over at Farmgirl Friday..
Dolly of http://www.hibiscushouse1.blogspot.com
You stop by any time, Dolly and I’ll give you a bagful!
YES! I make apple chips every autumn – I’m jealous you still have some! I gift them up all pretty and give them to friends each year. They’re insanely good and always make the house smell like heaven. Because in my opinion, heaven smells like roasting apples, cinnamon and sugar 😉
Thank you so much for linking up with Fresh Food Wednesday! Have a great week – hope to see you this Wednesday with more fresh food posts! xo, kristy
I think that has to be a fairly accurate description of Heaven!
Dried fruit is such a great idea and can be used in so many ways. Good simple instructions. Thanks for sharing, Visiting from MMM Mindful Link Up
If you briefly soak the apples in a little bit of salt water before you dehydrate them, they don’t brown so much. You can give them a quick water rinse before dehydrating to get rid of excess sodium. Lemon water prevents browning too but adds a bit of sourness some people don’t like.
Thanks for that tip – I’ve never thought of soaking apples in salt. The one picture that’s so brown is freshly sprinkled cinnamon but they do brown a bit when drying. As long as they taste like magic, I’m happy.
Thanks for sharing this for MMM link up this week! I really want to make apple chips so I think Ill give this a try!
I forgot to say that I was sharing this on the Adventures in Mindful Living FB page today!
Thanks so much; I really appreciate that!