Are you trying to make handmade gifts this year? Would you rather use green, organic materials that are practically begging to be turned into natural crafts? Here’s a collection of upcycled gifts from the garden for your homemade Christmas this year. Bonus: we’ve included a video and text tutorial of how to make your own grape vine garland, or swag, for gifting or decorating your own porch or hearth this holiday season.
Do I Have Time for Handmade?
I love the idea of handmade gifts this time of year but I’m still swamped working in the garden getting it tucked in for winter. One year I looked around at all the interesting items I was hauling out of my garden – vines I’d pruned, lovely stones, pretty dried flowers and seeds. I realized that I could kill two birds with one stone, AND save some money, if I figured out a few upcycled gifts from the garden to give out that holiday season.
If a handmade Christmas really isn’t your style and you ended up on the DIY craft article on accident, here are a few posts that might get you into that homemade holiday mood:
Building Family Traditions, by Homestead Lady.
Five Simple Steps to Slow Down and Enjoy Life, by Homespun Seasonal Living – check out step number 2.
Three Ways to Make Christmas More Meaningful, also by us here at Homestead Lady – check out number 2 here, as well.

To create more cozy family times that bring you closer together, join our newsletter and download your copy of our Homestead Hygge Workbook. Hygge is the Danish concept of turning our homes into sanctuaries of light, love, and peace through simple homespun activities like natural crafts, wholesome recipes, and simple pleasures.
Upcycled Gifts from the Garden
Don’t let the term “upcycled” confuse you. This is really just a collection of homemade gift tutorials that include items from the garden, or the outside world; organic items that can easily be foraged or found. You with me?
Here we go…
Handmade Grapevine Garland
Our first tutorial is on how to make a grapevine (or any vine) garland. Cut back long lengths of unwanted vine and use them to make lengths of garland for indoor or outdoor decorating.
These garlands can last for many year, but once they’re ready to be replaced, you can simply compost or burn them. This is a great “green” craft!

Grapevine Garland
Equipment
- Bucket, optional
- Clippers
Ingredients
- Grape vines in various lengths a lot
- Zip ties or twine
Instructions
To Begin
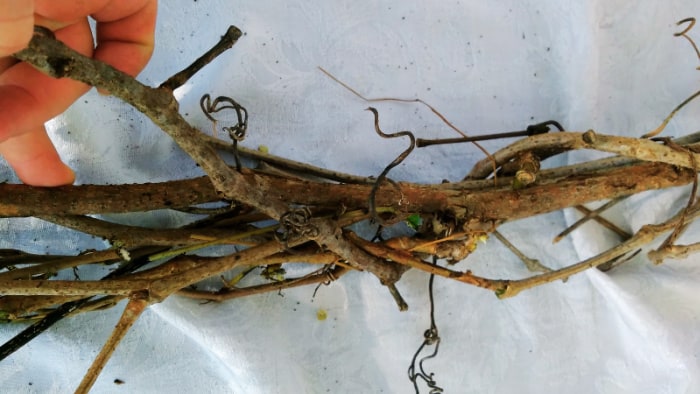
- Prune vines in long swaths, retaining interesting parts like curly ques, dried berries, colorful mosses, etc. The larger the grape vine finished garland, the more vines you need to cut. Hint: you always need more than you think, especially if the vines are still green and will shrink as they dry.
- Spray paint your zip ties, if you want to camouflage them more.
- Lay groups of three to nine vines out in sections in your yard. You’ll want a lot of space for this so they don’t tangle. When they do, inevitably tangle, remember not to use your pirate words in front of the children.
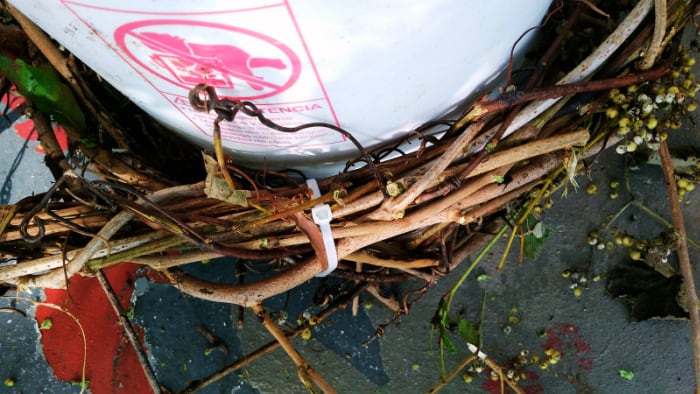
- Beginning with one group of vines, secure the ends together with a zip tie or twine. I prefer zip ties because they’re quick to close (unless you try to secure them backwards first, which I always seem to do) and they can be tightened after the drying process is complete.
- Repeat step three for every group of vines you have.
To Start Braiding
- Holding the end of your first group, divide the vines into three groups – they don’t have to be even. Roughly braid the vines in your group. Alternatively, for a shorter AND thicker garland, use three groups of vines and make a braid using one group of vines per strand of braid. This is a good option if you have a really big space or want to hang your garland up high where it will be more noticeable if it’s thicker. Caution: this can wear out your hands fast as the thicker braid will gain weight quicker than a thin one.
- As you come to the end of each group of vines and are finishing up your messy braid, open the end of the vines. It will kind of resemble a Pacman mouth.
- Insert the zip tied ends of the next group of vines. Shove it as far up as you can, tucking the ends and pieces in together so they next as much as possible.
- Use a few zip ties if you need to in order to secure these ends together.
- Repeat steps six through nine until you’ve used up all your groups of vines.
To Finish
- To finish the last group of ends, leave a one to two foot tail of unbraided vines. Gently bend the vine ends back up towards the main body of the grape vine garland, tucking them and weaving them into the body of the swag to hide and secure them.
- Lay out your garland and look for any vine ends or pieces that need to be tucked or even clipped. You may have broken a few and that’s fine – just clip the off or shove them back in.
- If you want your garland to dry straight, simply leave it lengthened on a dry surface for several weeks.
- If you want to give your garland some curl, securely wrap your garland around a bucket, water barrel or any other curved surface. Wind it until the garland is all the way wrapped around the bucket. I secure with zip ties as I go, but you can also use string. Make it tight. Leave in a dry place for several weeks.
- When it’s time to hang the garland, remove it from the barrel slowly and carefully. See how the grape vine garland naturally wants to hang – natural crafts have their own mind.
- Add ribbons, ornaments or greenery.
Step by Step Instructions for Grape Vine Garland:
-
-
- Prune vines in long swaths, retaining interesting parts like curly ques, dried berries, colorful mosses, etc. The larger the grape vine finished garland, the more vines you need to cut. Hint: you always need more than you think, especially if the vines are still green and will shrink as they dry.

- Spray paint your zip ties, if you want to camouflage them more.
- Lay groups of three to nine vines out in sections in your yard. You’ll want a lot of space for this so they don’t tangle. When they do, inevitably tangle, remember not to use your pirate words in front of the children.

- Beginning with one group of vines, secure the ends together with a zip tie or twine. I prefer zip ties because they’re quick to close (unless you try to secure them backwards first, which I always seem to do) and they can be tightened after the drying process is complete.

- Repeat step three for every group of vines you have.
- Prune vines in long swaths, retaining interesting parts like curly ques, dried berries, colorful mosses, etc. The larger the grape vine finished garland, the more vines you need to cut. Hint: you always need more than you think, especially if the vines are still green and will shrink as they dry.
-
To Start Braiding the Garland:
-
-
- Holding the end of your first group, divide the vines into three groups – they don’t have to be even. Roughly braid the vines in your group. Alternatively, for a shorter AND thicker garland, use three groups of vines and make a braid using one group of vines per strand of braid. This is a good option if you have a really big space or want to hang your garland up high where it will be more noticeable if it’s thicker. Caution: this can wear out your hands fast as the thicker braid will gain weight quicker than a thin one.
- As you come to the end of each group of vines and are finishing up your messy braid, open the end of the vines. It will kind of resemble a Pacman mouth.
- Insert the zip tied ends of the next group of vines. Shove it as far up as you can, tucking the ends and pieces in together so they next as much as possible.
- Use a few zip ties if you need to in order to secure these ends together.
- Repeat steps six through nine until you’ve used up all your groups of vines.
- Holding the end of your first group, divide the vines into three groups – they don’t have to be even. Roughly braid the vines in your group. Alternatively, for a shorter AND thicker garland, use three groups of vines and make a braid using one group of vines per strand of braid. This is a good option if you have a really big space or want to hang your garland up high where it will be more noticeable if it’s thicker. Caution: this can wear out your hands fast as the thicker braid will gain weight quicker than a thin one.
-
To Finish the Grape Vine Garland:
-
-
- To finish the last group of ends, leave a one to two foot tail of unbraided vines. Gently bend the vine ends back up towards the main body of the grape vine garland, tucking them and weaving them into the body of the swag to hide and secure them.
- Lay out your garland and look for any vine ends or pieces that need to be tucked or even clipped. You may have broken a few and that’s fine – just clip the off or shove them back in.
- If you want your garland to dry straight, simply leave it lengthened on a dry surface for several weeks.
- If you want to give your garland some curl, securely wrap your garland around a bucket, water barrel or any other curved surface. Wind it until the garland is all the way wrapped around the bucket. I secure with zip ties as I go, but you can also use string. Make it tight. Leave in a dry place for several weeks.
- When it’s time to hang the garland, remove it from the barrel slowly and carefully. See how the grape vine garland naturally wants to hang – natural crafts have their own mind. Add ribbons, ornaments or greenery.

-
Upcycled Crafts – Handmade Gifts
I enjoy working with natural materials like vines, bark, pine cones, leaves, etc. My five year old and I gathered a huge bag of pine cones in the late summer while we were visiting family out west. ALWAYS forage with a child, if you have one around. Kids can see wonderful things that you might miss because they’re closer to the ground and enormously observant.

Pine Cones
In the past, we’ve used pine cones and bark to make items like this Natural Creche, or Nativity – click here for a tutorial.

-
-
- Learn how to harvest and clean pinecones for use in crafts from A Modern Homestead.
- Ok, this isn’t a pine cone ornament, it’s made from okra (if you an believe it), but how cute is this Santa Claus Okra Ornament?! Love Susan’s ideas at Learning and Yearning. She has several ornament tutorials from upcycled materials so be sure to nose around her site.
-
More Vines
Each fall we cut back our vining plants, especially our homestead grapes, to allow for better fruiting the next summer. Grape vines, or any other sturdy vine, should never be thrown away!! Use them to make these simple wreaths which can be decorated or left plain, given singly or in groups of three to five:
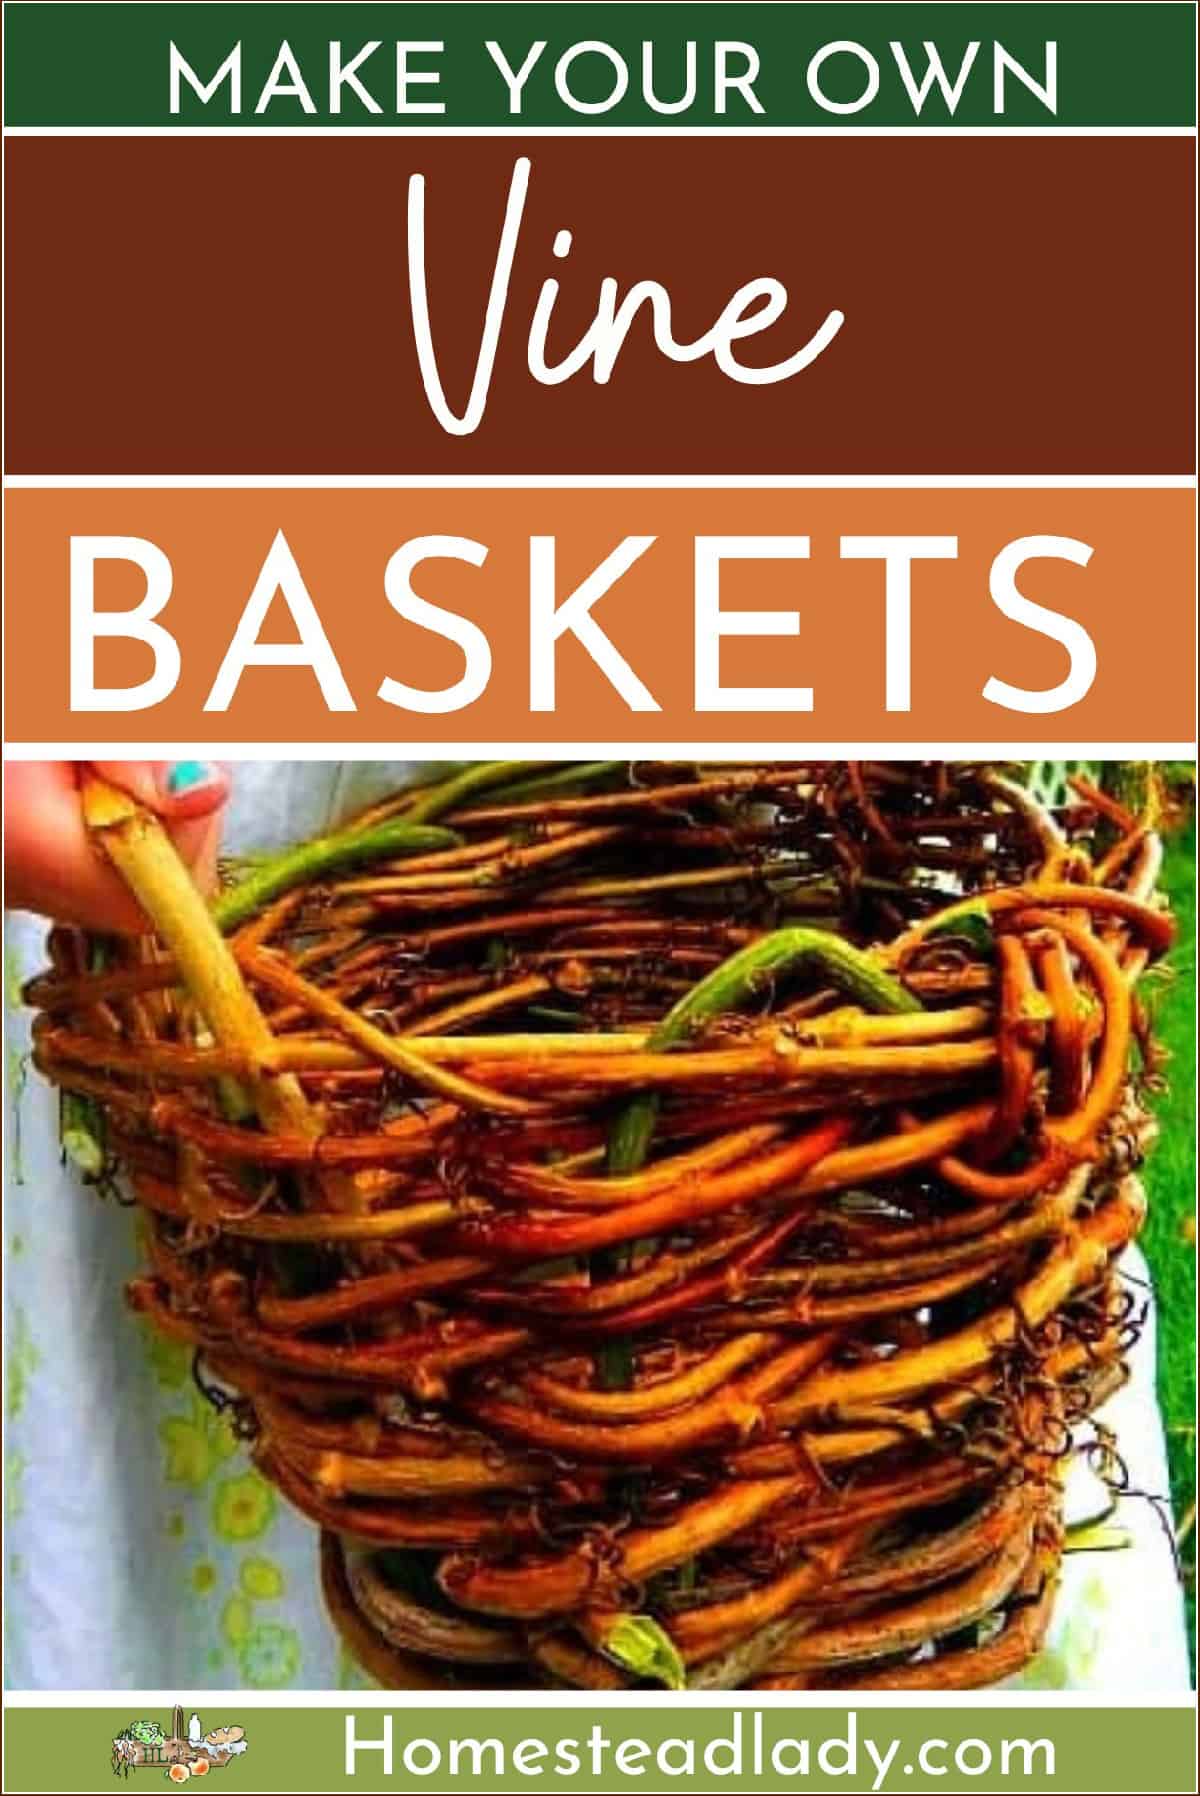
Here’s a tutorial to make your own plant pots and baskets.
Easy, easy peasy just requires a hot glue gun – from Woodland Elf, How to Make a Rustic Christmas Star. You can use just about any stick to make this, include straight sticks of grape vine, and then use small, pliable vines to wrap it afterwards, if you like. This can top your friend’s Christmas tree or hang on a wall.
Don’t be intimidated if you’ve never done this sort of thing before because the tutorials on these projects are very detailed. IF you do end up with questions, just email me or comment on the post and I’ll be happy to help.
Upcycled Herbs – Homemade Beauty and Kitchen Treats
Herbs are just about my favorite thing to grow in the garden. They’re hardy, smell and taste fantastic and are lovely year round. They’re also quite handy to have for gift-making.
Herbal Health Care Gifts
One of my favorites, here’s a DIY Herbal Hot/Cold Pack tutorial from Joybilee Farm – wonderful with lavender in it.
Also using lavender, here’s a Simple Lavender Sachet from us here at Homestead Lady.
Did you know you can make hair-care products called rinses (sort of a combo of shampoo/conditioner)? Here’s an herbal hair rinse for every hair type – this is a great girlfriend gift!
Here are 55 Herbal Gifts to make from Joybilee Farm.
Herbal Foods
Do have dandelions? Yeah, those aren’t too hard to find most years. Try these Dandelion Candies for stocking stuffers or even birthday treats. Follow the link above for a tutorial.

We do a 12 Days of Christmas doorbell ditch (a template is included for you to use in our book here) and there’s one night when we leave soup. I try to remember to include some herbal butter to go with homemade rolls that night because it’s simply so tasty.
More Herbal Gifts
-
-
- Now this Christmas ornament gift idea is truly unique – the author, Naturally Loriel, has put homemade spice mixes into clear, glass ornaments to give to friends. They look neat and are a fun way to dress up what would otherwise be boring packaging!
- Speaking of herbal spices and salts, I’ve really enjoyed making my own this year for our family. My son has actually been the one to inspire me since he wanted to make his own for recipes he uses on the nights he makes dinner. Kids and herbs go well together! Here’s a lovely herbal salt recipe from Healing Harvest Homestead.
- The Herbal Academy shows you how to make ginger syrup – combine this with a bottle of homemade water kefir and you’ll be gifting healthy ginger ale!
- While we’re on that topic, Rootsy can show you how to make several herbal syrups. These are NOT difficult.
-
More Natural Gift Ideas
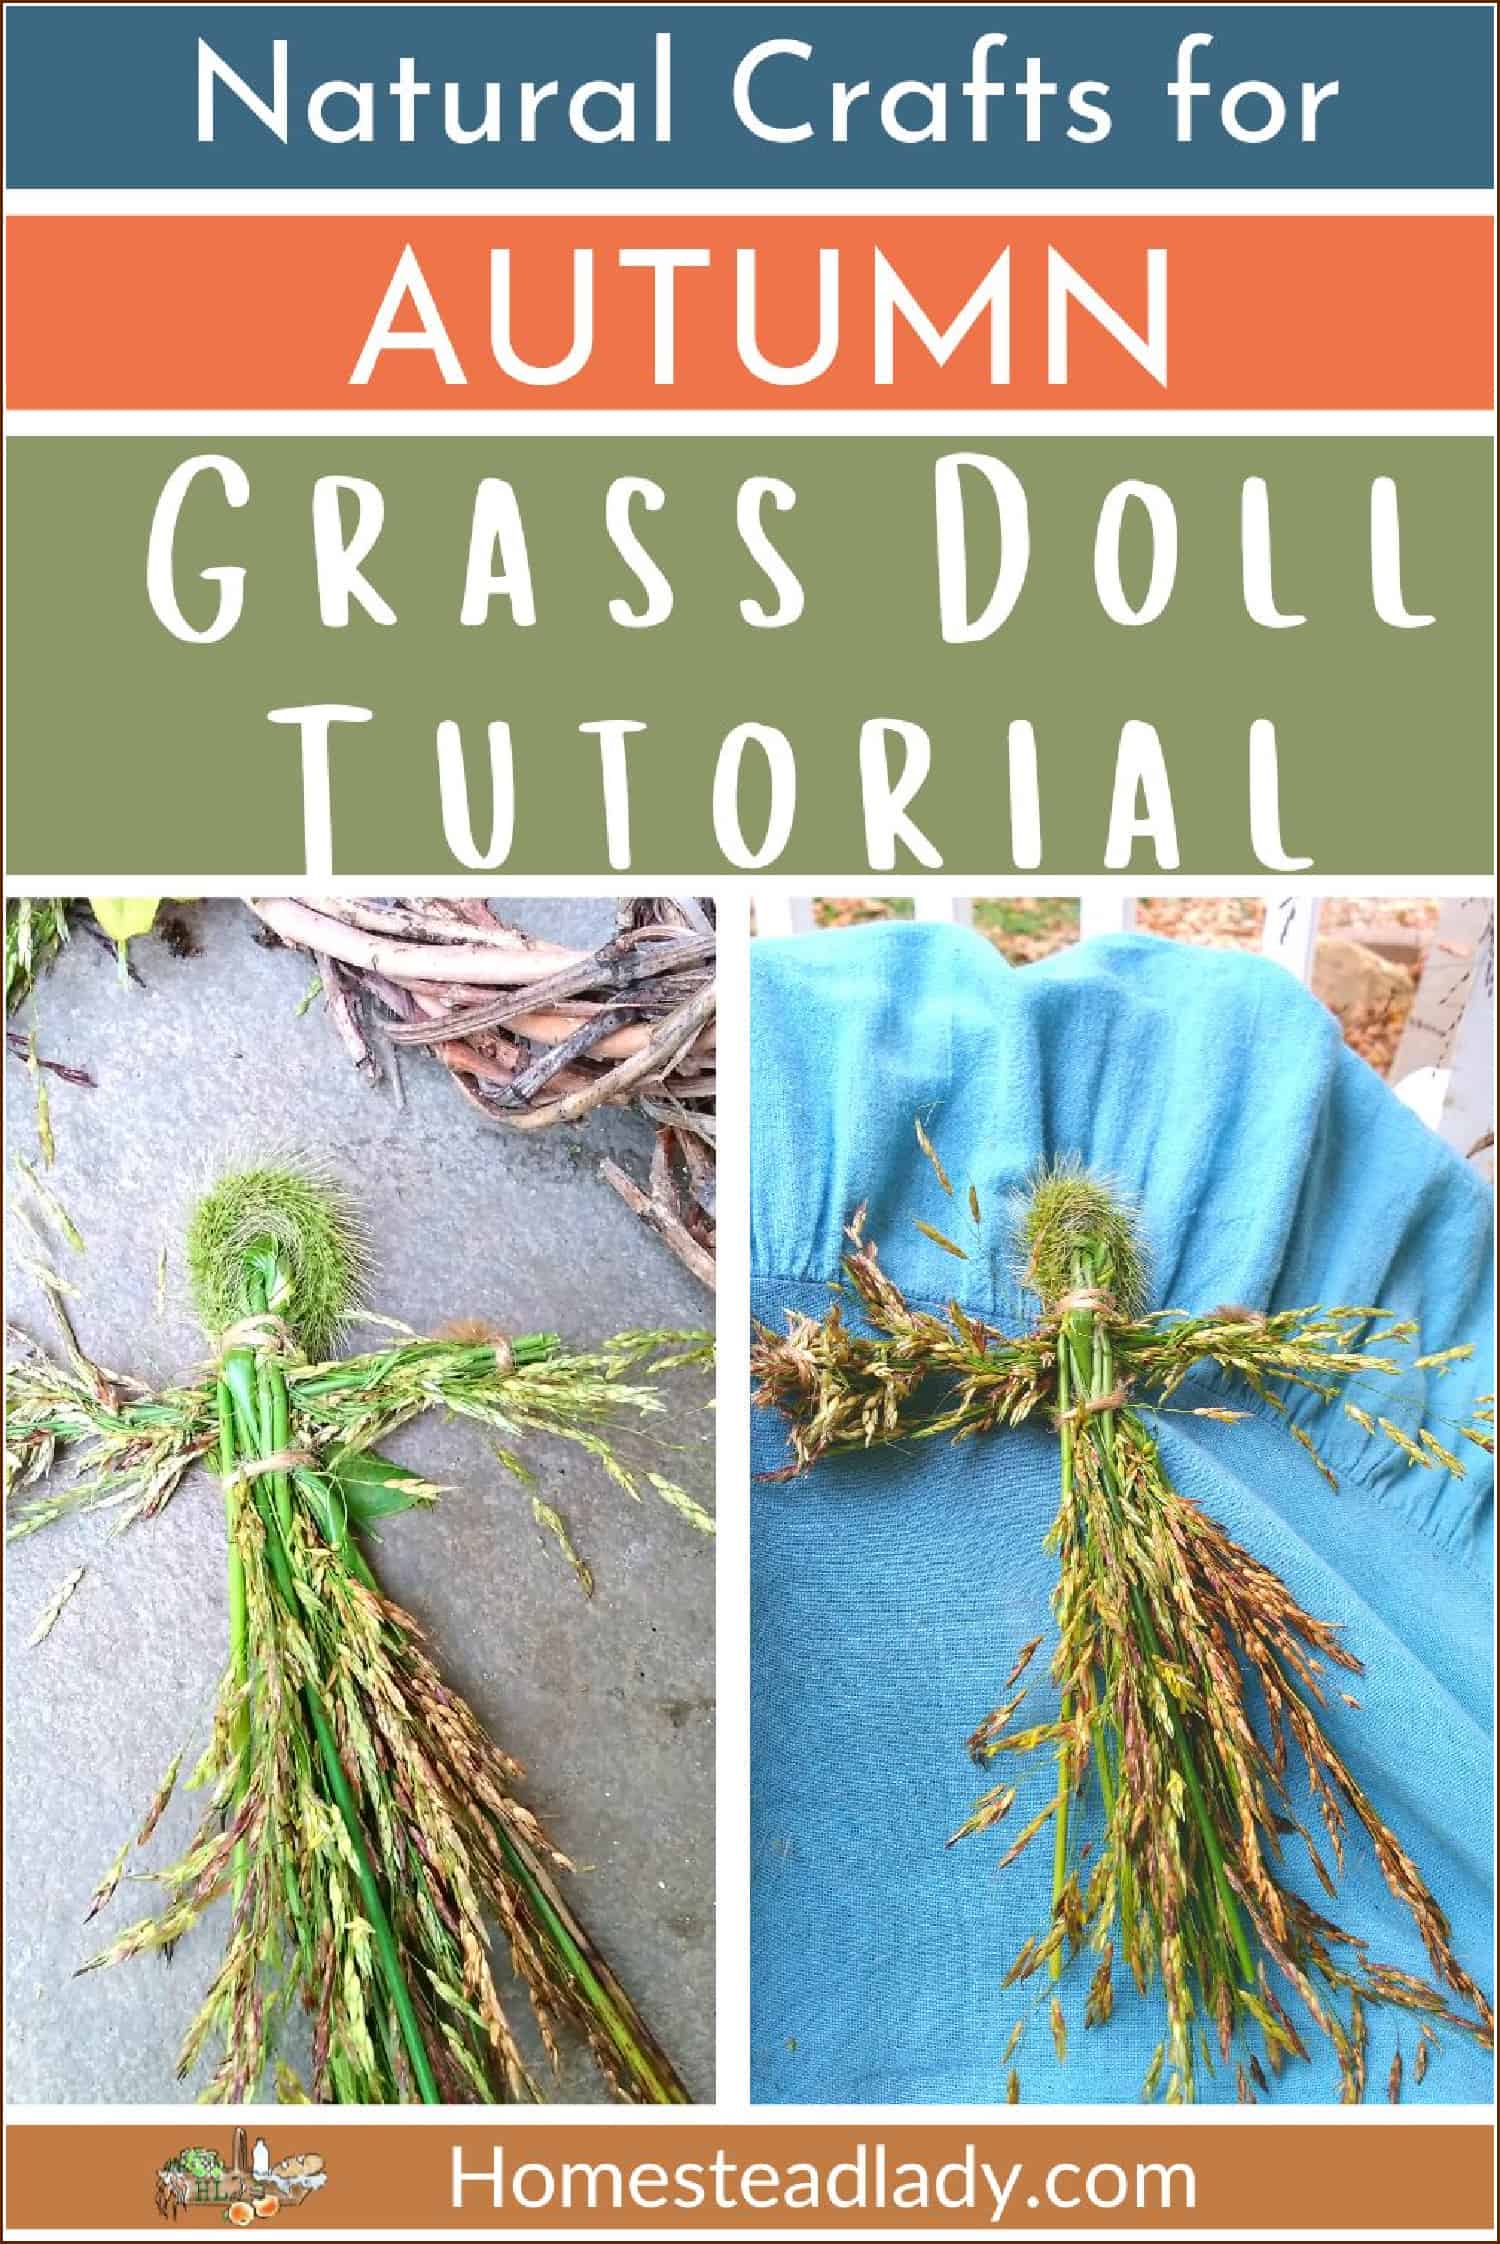
Here’s a collection of natural crafts for autumn that can easily be turned into gifts.
The charm of handmade items is that the recipient automatically knows that love, care and time went into the creation of each gift. Isn’t that what gift-giving is truly about?
How about making these lovely botanical prints?
Even More Natural Gift Ideas
Do you grow cranberries, other berries like hawthorn or even grapes? Here’s how to make an old-fashioned berry and popcorn garland by Only Passionate Curiosity. The birds and wildlife are just as deserving of gifts this season, especially as it grows colder and their food becomes harder to find.
Or, how about these pressed flower bees wax bowls from The Empress of Dirt? Speaking of bees wax, are you a bee keeper? If so, do you have extra wax on hand this year?
Here are 42 Things to Make with Wax from Joybillee Farm. In fact, Chris wrote a whole book on the topic of bees wax – look for it on her site!
Don’t forget to use up your old beeswax by making these simple and effective natural beeswax fire starters!

So, what did I miss? Do you have a favorite upcycled gift from the garden you make every year that’s always a hit?


Great ideas!
Thanks, Jenn! I’m glad an actual crafty person approves! 🙂